Delving into wildlife painting with acrylics offers a dynamic avenue for expressing your love for animals and nature. Acrylic paint’s versatility allows you to capture the raw beauty of wildlife with vibrant colors and rich textures. To start, consider the array of techniques you can use, such as layering, glazing, and dry brushing, which can help to replicate the intricate details of fur, feathers, and habitat.
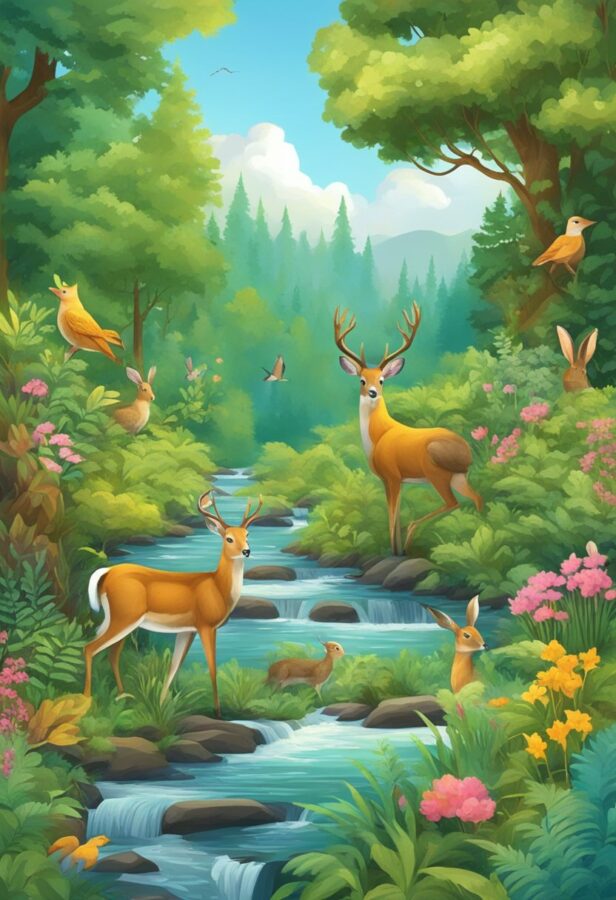
As you embark on a wildlife painting, pay close attention to the play of light and shadow in your reference images or scenes. Lighting not only breathes life into your subject but also provides depth and dimension. When painting with acrylics, you can utilize their quick-drying nature to your advantage; glazing, for example, can add a translucent layer to enrich your colors while still preserving the underlying details.
Texture is a critical element in wildlife paintings, lending a tactile feel to visual encounters. Your brushstrokes play a significant role here – varying their direction and pressure can mimic the natural patterns found in wildlife.
If you’re seeking to create realistic fur or foliage, use small, precise strokes with a fine brush, and gradually build up the density and color for a more lifelike effect. While acrylics are your chosen medium, exploring techniques from oil and watercolor painting can inspire new approaches to applying your acrylic paints and expand your creative repertoire.
The Lone Wolf in Moonlight
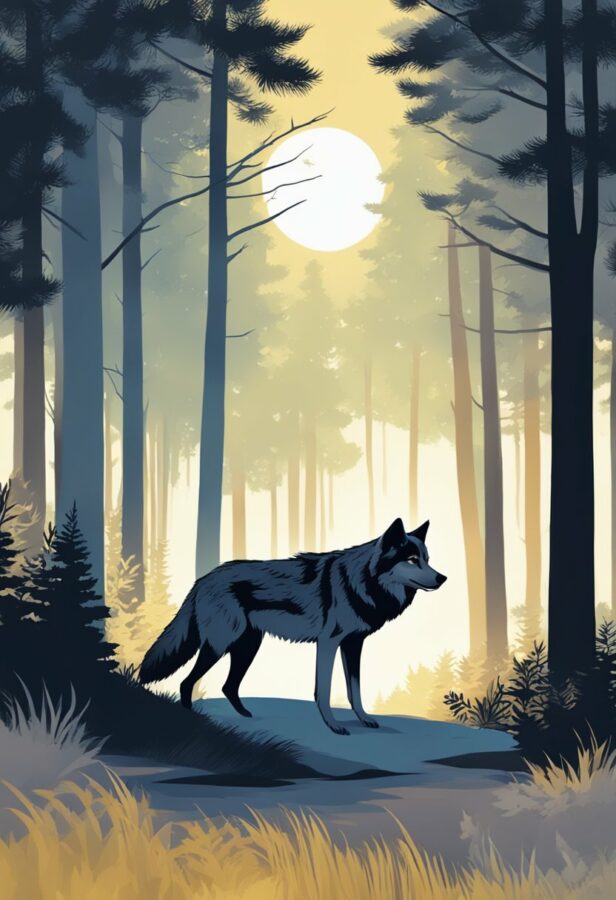
In this section, you will explore the artistry behind capturing the enigmatic presence of nocturnal wildlife using acrylic paints. Mastering the depiction of animals like the lone wolf bathed in moonlight will not only enhance your wildlife art portfolio but also solidify your techniques in creating realistic, vivid acrylic paintings.
The Prowling Tiger
When painting a prowling tiger, you want to emphasize the movement and power inherent to this majestic creature. Begin with a sketched outline to capture the tiger’s sinuous form. Use bold, warm colors for the tiger’s fur and integrate darker shades to create the patterns and shadows that play across its body in the moonlight.
Your brush strokes should follow the direction of the fur to add texture and life-like details. Remember, acrylics are forgiving; they allow you to layer colors to build depth. A helpful tip for beginners is to keep the background simpler to allow the tiger to truly stand out.
The Resting Fox
For the resting fox scene, focus on creating a sense of peace and serenity. Color choice is key; use gentle hues for the fox’s fur—think soft reds and oranges, blended with creamy whites to suggest the softness of the fur. Paint the fox’s habitat with a mix of cool and warm tones to reflect the variances in moonlight and shadows.
Techniques like dry brushing will help you create the fine, whispery textures of the fox fur, which should contrast with the smoother textures of the surrounding environment. In your first few attempts, don’t stress over perfect detail; instead, focus on capturing the overall value and lighting that gives the fox its lifelike quality.
The Dancing Peacock
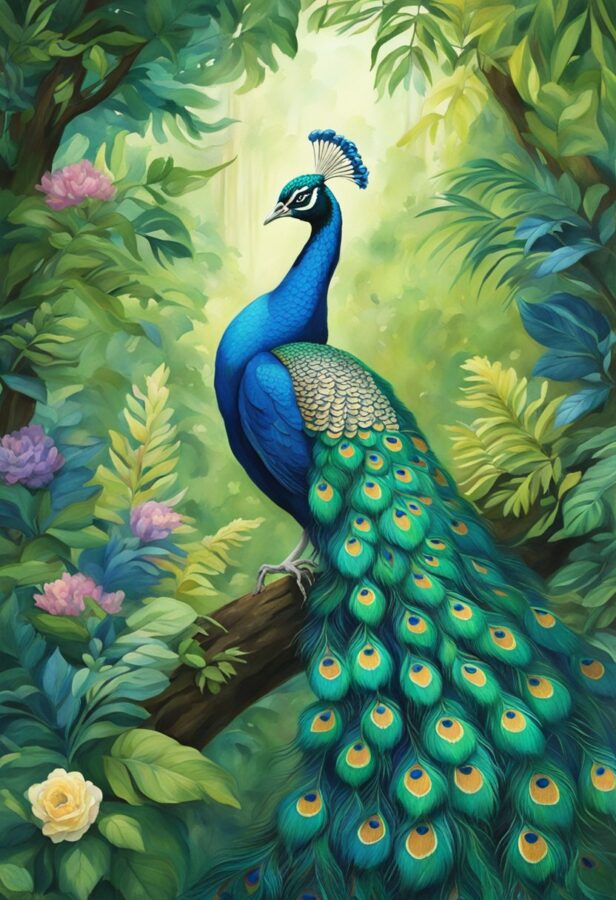
In capturing the essence of a peacock’s vibrancy, you’re delving into a world of rich colors and intricate patterns that can bring your canvas to life.
The Perched Parrot
Your brushstrokes can define the feathers of a parrot with precision, mimicking the natural layering in the wild. Start with a dark base coat to establish depth, and then layer increasingly light strokes of acrylic paint to showcase the iridescent quality of the feathers. Texture is key here, so use a fine tip brush to accentuate each feather, creating a tactile quality that can almost be felt with the eyes. Play with saturation to give the parrot a lively expression which reflects its animated nature.
The Fluttering Butterfly
Butterfly wings demand attention to details and patterns. Use a light pencil to outline the intricate designs first, ensuring you have a guide to follow. With thin brushes, apply subtle layers of color to fill in the shapes, allowing for drying time in between to keep the colors crisp and prevent bleeding.
Dabble in contrasting colors to add dimension, and use a fine brush to emphasize the delicate vein patterns. The slight transparency of butterfly wings can be captured with diluted acrylic paint, achieving a realistic representation of this ethereal creature’s movement.
See Related: Unleashing the Wild: Exploring the World of Fierce Animals
The Grazing Herd
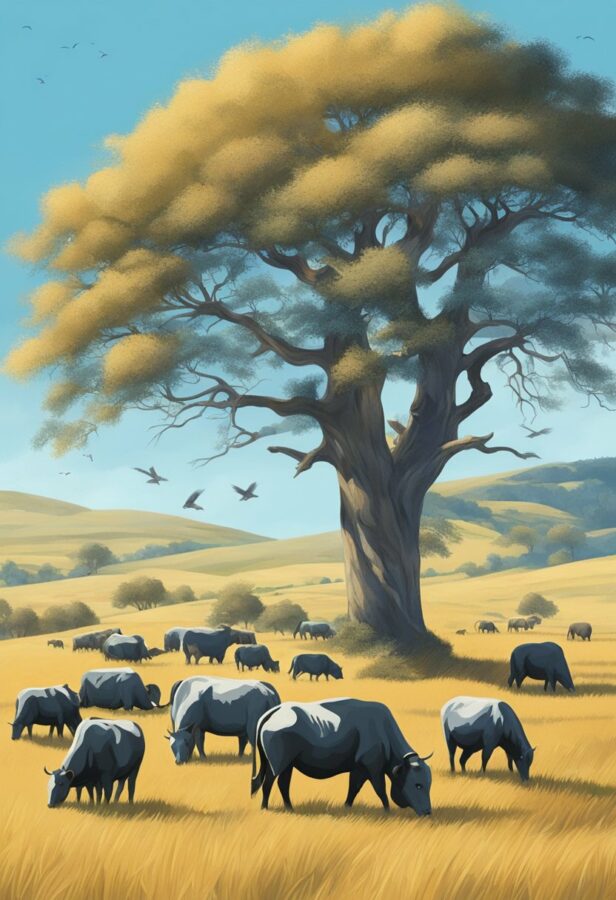
Capturing the essence of wildlife in their natural habitats embodies the spirit of acrylic painting. Your focus will be on the rich textures of fur and the interplay of lighting, which is crucial for rendering these animals realistically in their serene grazing moments.
The Stoic Bison
When you paint the stoic bison, it’s key to appreciate the dense fur texture that this majestic creature possesses. Utilize thick, heavy brushstrokes to emulate that shaggy fur, grounding your bison in its grassland habitat.
For the fur, mix Burnt Umber and Raw Sienna with touches of white to create a realistic variation. As you work on the anatomy, pay close attention to the bison’s strong shoulder hump and large head to capture its formidable presence. Observe the behavior of the herd; typically, bison graze calmly, so keep the scene tranquil.
Painting Tips:
- Start with an underpainting in a neutral tone to establish the light and shadows.
- Layer your acrylics, beginning with darker shades and adding lighter colors to create the fur’s texture.
The Majestic Giraffe
Moving on to the majestic giraffe in the savanna, it’s essential to portray its unique patterns and the subtle shading that hints at its anatomy. The giraffe’s pattern can be tackled with a smaller brush, as you’ll want to define the distinct spots carefully.
Create a mix of Yellow Ochre for the base color and use a darker brown for the spots, which are unique to each giraffe. Light is crucial here to illustrate the giraffe’s height and the way it towers over its habitat. Capture the animal’s gentle behavior through its interaction with the environment, perhaps stretching its neck towards a tree.
Painting Tips:
- Use a fine brush for the intricate patterns and the facial details.
- Apply thin glazes of acrylic paint to build up the texture and depth of the giraffe’s fur.
The Leaping Dolphin
In capturing the essence of “The Leaping Dolphin” in your wildlife acrylic painting, focus on key elements such as movement and texture, utilizing the versatility of acrylic paint to create depth and realism.

The Sleek Shark
When painting “The Sleek Shark,” start by creating a smooth gradient in the background to suggest the depths of the ocean. Use a mix of blues and greens in your acrylic palette to achieve a sense of fluidity in the water.
For the shark, apply thin layers of gray and white, respecting the light source to highlight the sleek form and add precision to the details such as the gills and eyes. To suggest movement, use elongated strokes in the direction the shark is moving and slightly blur the tail to make it seem like it’s swiftly cutting through the water.
The Playful Otter
For “The Playful Otter,” begin with a lighter base for the water to suggest a more shallow environment. Playful and full of energy, the otter’s fur requires texture, which you can achieve by dabbing a stiff brush with a mix of brown and beige acrylic paint.
Incorporate subtle touches of white to showcase the light reflecting off the wet fur, giving your painting a lively appearance. Capture the otter’s playful essence by adding ripples around it to indicate movement, and be playful with your color choices—perhaps a dash of soft blues and greens—to reflect the otter’s jovial nature.
The Basking Crocodile
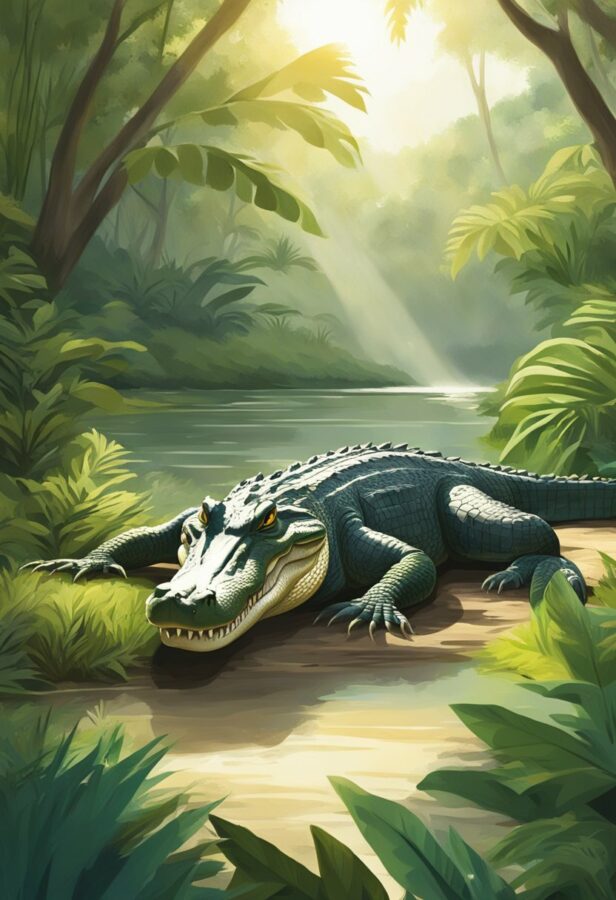
In the serene world of acrylic wildlife painting, capturing the essence of a crocodile basking in its natural habitat offers a unique challenge. This majestic reptile, with its textured skin and the interplay of light and shadow, becomes a testament to your creative skills.
The Roosting Bats
Imagine the nocturnal world where bats roost quietly in the dusk. To paint these creatures in acrylics, start with a dark background, using a mixture of ultramarine blue and burnt umber to suggest the depth of a cave or a shadowy tree hollow.
Apply thin layers of paint to create the effect of dim light filtering in. Your brushstrokes should be quick and light to mimic the fluttering movement of the bats. For the bats’ texture, use a dry brush technique to softly suggest fur without overwhelming the painting’s delicate balance of darkness and subtle highlights.
The Climbing Koala
Transition now to a brighter scene. Your canvas awaits the soft, grey fur of a koala against the bold greens of eucalyptus leaves. Utilize a dry brush to dab on the rough texture of the koala’s coat, blending in shades of grey and white to create volume. With acrylic paint, build up the koala’s furry texture gradually layer by layer, allowing drying time in between.
To suggest the koala’s natural habitat, use a palette knife to apply paint for the eucalyptus bark’s rough texture, and mix in small amounts of phthalo green and yellow ochre for the leaves. Remember to pay attention to the pattern of light falling through the foliage to create natural shadows and highlights, enhancing the three-dimensional effect on your koala.
The Travelling Birds
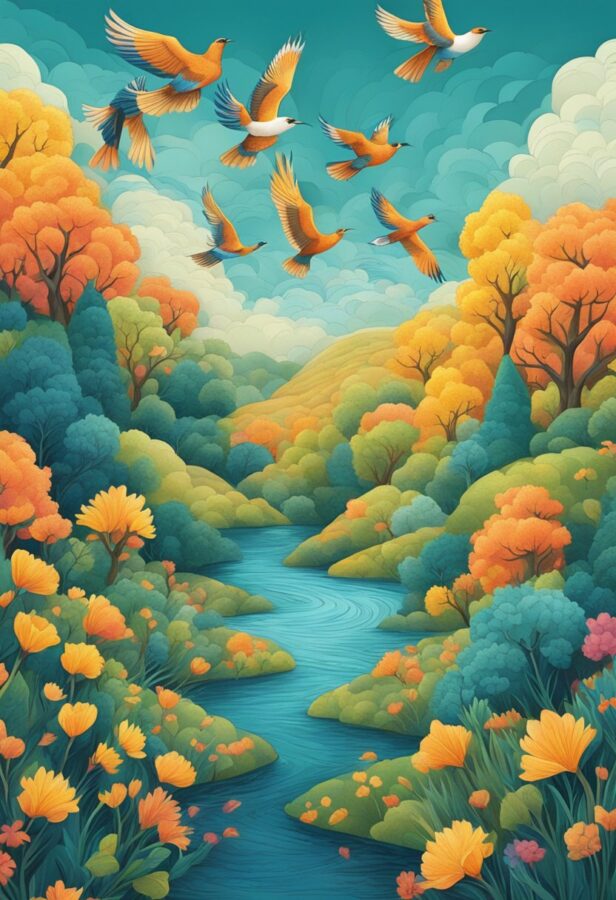
In this section, we unveil techniques to capture the essence of avian migration. Use these tips to paint the subtle intricacies of feathers in motion and convey the dynamic nature of birds on their seasonal journey.
The Nesting Birds
When painting nesting birds, you’ll want to focus on the textures of both the birds and their nest materials. Start by using a small, pointed brush to apply acrylic paint with care, depicting the softness of feathers with gentle, tapered brushstrokes. Embrace a palette of earthy tones for the nest, highlighting the interplay of shadows and light with various brown and cream hues. Here’s a quick guide:
- Feathers: Use a fine brush, gently layer thin strokes with slightly diluted paint for a more lifelike texture.
- Nest: Build layers with broader strokes and a palette knife to mimic the rough texture of twigs.
The Foraging Squirrel
Capturing the fur of a foraging squirrel requires both precision and the ability to suggest movement through deft brushwork. Opt for a detailed round brush and a steady hand to layer different shades of browns and grays, creating the illusion of thick fur. Achieve texture by dabbing the brush to form the pattern. Consider these steps:
- Body: Alternate between light and dark shades to give depth to the squirrel’s fur.
- Motion: Show the squirrel’s action with blurred edges and directional brushstrokes, indicating swift movement.
See Related: The Silent Crisis of Feeding Wild Animals: Here’s What You Should Actually Do
The Lumbering Hippo
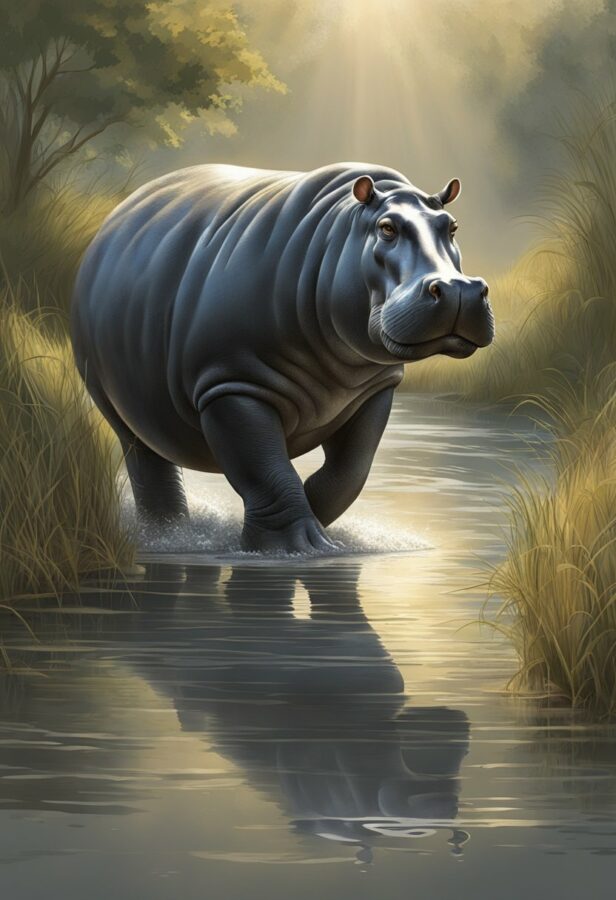
Capturing the essence of a hippopotamus in your wildlife painting can be a fascinating subject. With acrylics, you can vividly bring to life the texture of its skin and the depth of its natural habitat.
Creating Texture:
Start by applying a base coat to your canvas for a smooth foundation. Once dry, layer your acrylics thickly where you envision the rough hide of the hippo.
By using a dry brush technique or a palette knife, you can create the impression of its thick, wrinkled skin. Remember, in painting texture, less is often more; a few well-placed strokes can suggest the rugged surface without overwhelming your piece.
Depicting Depth:
To give your painting depth, consider the hippo’s environment. Layer varying shades of blues and greens to represent water, ensuring lighter tones near the surface and darker tones to suggest depth. The contrast between the hippo and its surroundings will make the animal appear large and solid, anchoring it in the scene.
Working with Acrylics:
Acrylics are forgiving for beginners. They dry quickly, allowing you to work over mistakes with ease. If a part of your painting doesn’t look right, simply let it dry and paint over it.
Use this to your advantage, especially when creating the reflections and ripples around your lumbering hippo. The immediacy of acrylics can capture the dynamic presence of this majestic creature mid-movement.
Remember, in wildlife painting, your creative flair enhances realism, so let your imagination guide your brush strokes. With practice, your depiction of the lumbering hippo will not only reflect its physical attributes but also echo the vibrant life it represents.
The Artistic Touch
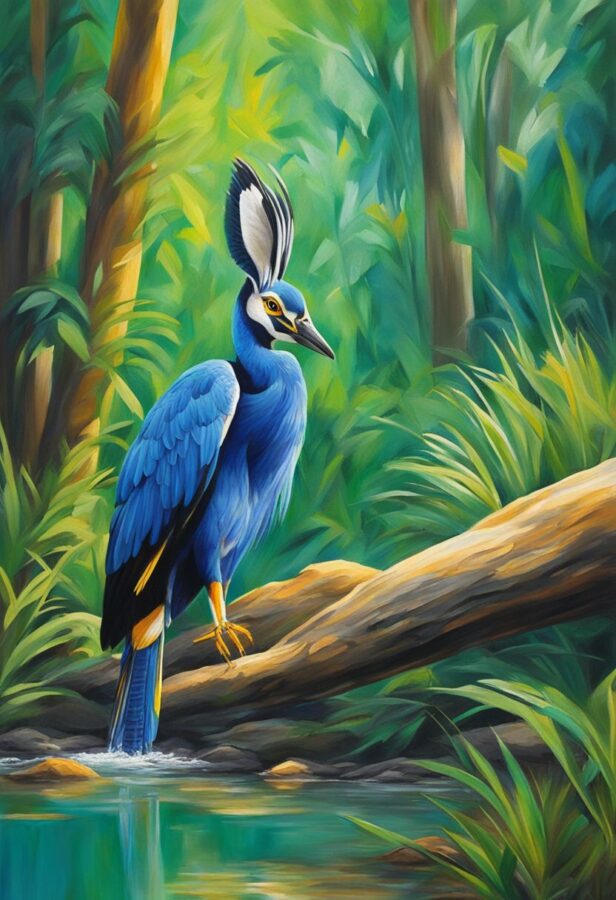
When you embark on the journey of wildlife painting with acrylics, every stroke is a conversation between you and the canvas, blending patience, precision, and your unique expression.
The Unique Features
Wildlife painting is more than a mere replication of what you see; it’s about infusing the canvas with life. To create a unique feature in your piece, focus on:
- Texture: Wield your brush to mimic the roughness of bark or the softness of fur. Begin with a thin layer to sketch the basic texture, then layer with thicker acrylic to enhance the three-dimensional feel.
- Color: Pay close attention to the subtle shifts in hue and tone. Acrylics dry quickly, allowing you to rapidly build up color and correct mistakes without muddying the canvas.
Tip for Beginners: Start with royalty-free reference photos to practice your accuracy without the pressure of creating an original composition.
The Precision Techniques
Precision in wildlife painting isn’t just about accuracy; it’s about patience and the willingness to learn from mistakes.
- Sketching: Use printable sketches to outline your subject before you begin painting, ensuring every detail is considered.
- Layering: Build your painting from thin to thick layers, allowing each to dry in between, to achieve fine details and deep colors.
Tip for Beginners: Embrace oil paint for blending and intricate details, if you find it challenging to work with the fast-drying nature of acrylics.
See Related: Smallest Animals in the World: Unbelievable Mini Creatures Revealed!
Creative Resources
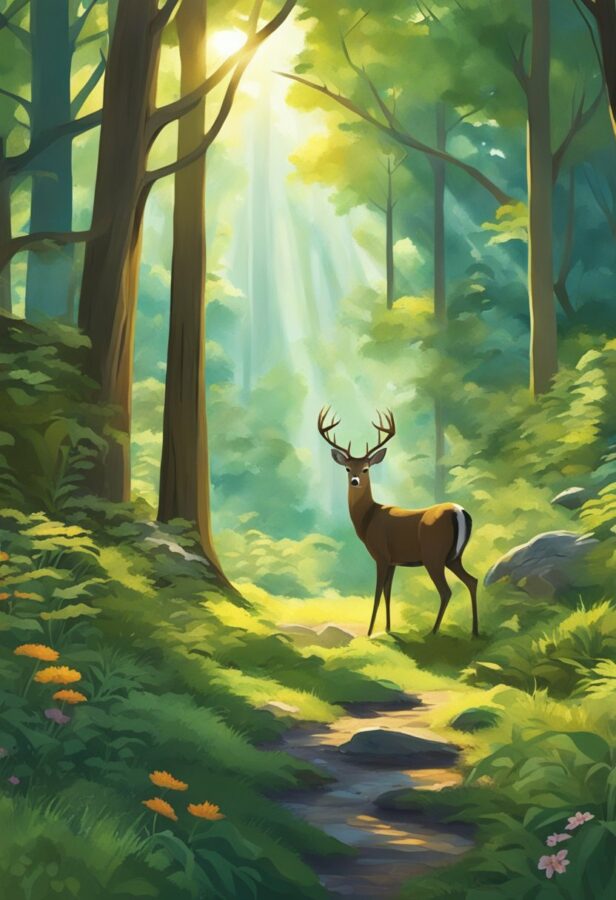
To excel in wildlife acrylic painting, it’s essential to utilize a rich array of creative resources that help refine your technique and bring your artistic visions to life. These resources range from initial sketches that capture the essence of your subject to in-depth tutorials that polish your skills.
The Inspirational Sketches
Before you dip your brush into vibrant acrylics, start with inspirational sketches. They’re the backbone of your painting, allowing you to plan composition and understand your subject’s form.
Visit the natural habitat of your wildlife subject, if possible, and sketch animals in motion or at rest. Sketching on-site imbues your work with authenticity and provides a reference for the unique textures and dynamics of the animal.
The Photographic References
Your next stop is gathering photographic references. If you can’t observe your subjects directly, high-quality photographs are your blueprint. Seek out shots that display the natural habitat and intricate details of your subject’s fur, feathers, or scales. Remember, while photographs are invaluable, use them to inform your work without directly copying to maintain originality.
The Illustrative Tutorials
Dive into illustrative tutorials to help navigate the complexities of wildlife in acrylic. Learning new techniques through tutorials can greatly enhance your understanding of shading, lighting, and texture rendition.
Look out for tutorials that offer step-by-step guidance on everything from basic brushstrokes to the delicate layering needed for lifelike fur or the roughness of leathery skin. Consider a subscription or membership to reputable online tutorial platforms to keep your skills sharp and up-to-date.
The Online Marketplace
Finally, explore the online marketplace—places like Etsy or art supply e-stores—essential for both obtaining materials and showcasing your completed works for sale. Investigate the options for acrylic paints, specifically those designed for painting animals, such as pigments that mimic natural tones found in wildlife.
Premium brushes that help achieve fine detail will elevate your technique, while high-quality canvases will give your wildlife paintings the professional touch they deserve. When ready, consider selling your art on these marketplaces; it’s a great way to reach a global audience interested in wildlife art.
Remember, these creative resources are not just tools; they are stepping stones on your journey to becoming a skilled wildlife artist in acrylics. Use them to unleash your creativity, and let each brushstroke celebrate the wild beauty of nature.
Related Resources: