Drawing wildlife can be an extremely rewarding way to connect with nature from the comfort of your own space. Whether you’re sketching a majestic lion or capturing the delicate features of a bird, each drawing brings you closer to the animal world. Learning to draw animals doesn’t require you to be an expert artist, as there are plenty of easy techniques that even beginners can master with practice.
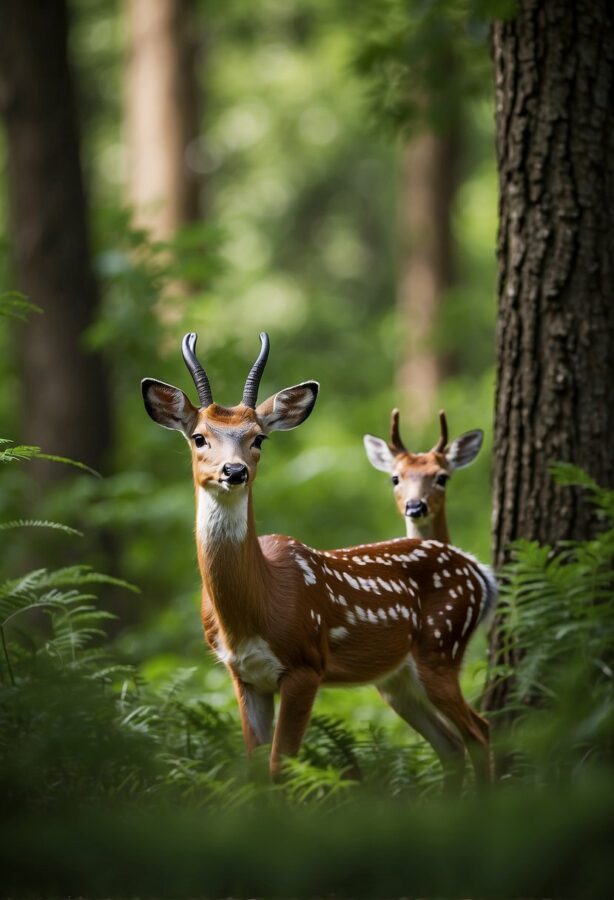
Starting with the basics, you can begin by familiarizing yourself with the simple shapes that form the foundation of any animal you wish to draw. Break down your subject into circles, ovals, and lines to create a rough skeleton.
This approach can make the task less daunting and helps in maintaining the correct proportions. As you progress, you’ll learn to refine these shapes into more detailed features, like the texture of fur or the intricacy of feather patterns.
Patience and observation are key when developing your drawing skills. Take your time to study the characteristics of the animals you’re interested in, noting how their bodies move and how light plays on their form.
With each stroke of your pencil, you’re not just creating art, you’re also deepening your understanding of wildlife. Remember, every artist started as a beginner, and with consistent practice, your ability to create stunning wildlife illustrations will grow.
The Majestic Stag
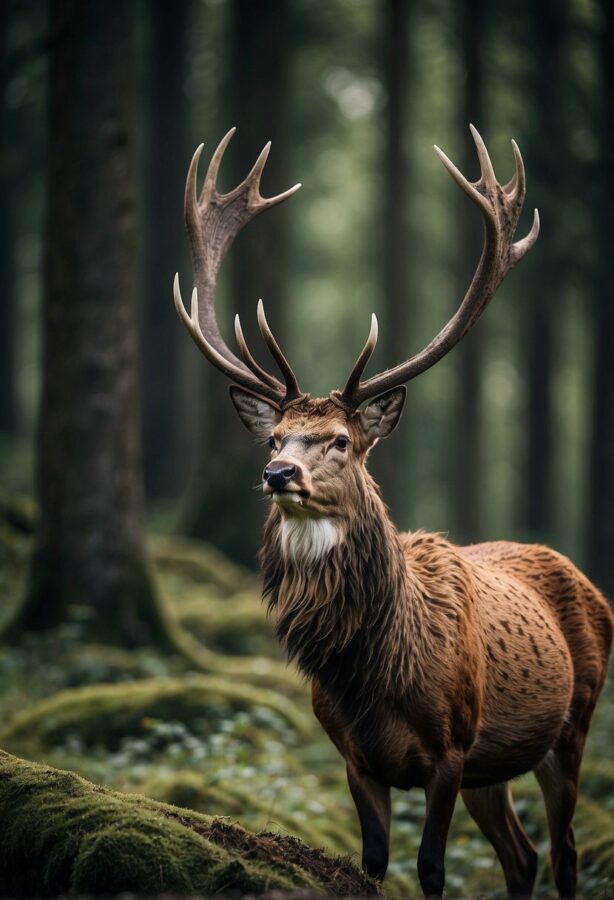
Drawing wildlife, particularly wild animals such as the majestic stag, is a delightful way to engage with nature from your own home. When creating your own artwork of a stag, there are a few steps to consider that can guide you in capturing the essence of this noble creature in your sketch.
Materials Needed:
- Pencil
- Eraser
- Drawing paper
Step-by-Step Guide:
Outline the Head: Begin with a light oval shape for the head. Add a smaller circle to the lower right side for the muzzle.
Sketch the Antlers: Starting from the top of the head, draw two symmetrical lines that fork outward to form the basic shape of the antlers.
Create the Body: Draw a larger oval, overlapping the head, to represent the body. Ensure that it’s proportionate to the head to capture the deer’s elegant stature.
Add the Legs: From the body, extend four lines down for the legs. Stags have long, sturdy legs, so ensure they’re slightly angled and proportionate.
Detailing: Add hooves at the bottom of the leg lines, and sketch in the delicate facial features like the eyes and ears.
Shading and Texture: With your pencil, apply light shading to give your stag form and texture. Use short strokes to resemble the fur.
Final Touches: Use your eraser to clean up any excess lines and sharpen the details of your stag’s face and antlers.
Remember that practice enhances your skill, so don’t be discouraged if your first few attempts don’t look perfect. Keep refining your technique, and your wildlife drawings, like the deer you’re crafting, will come to life with every pencil stroke you make.
See Related: Nature’s Canvas: Stunning Wildlife Backgrounds for Your Devices
The Curious Raccoon
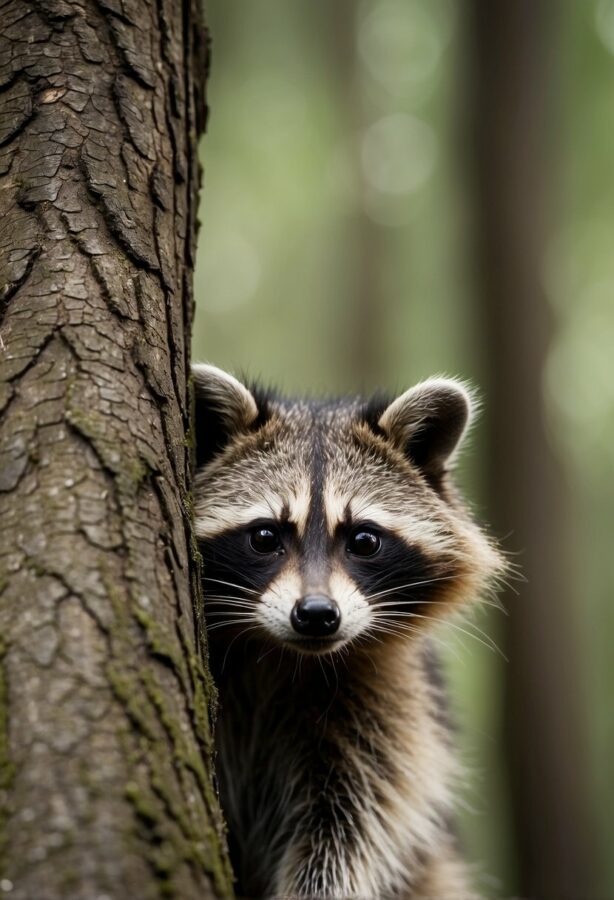
Drawing wildlife can be a delightful hobby, and starting with something as playful and curious as a raccoon is perfect for beginners and seasoned artists alike. Here’s a friendly guide on how to sketch a racoon with a focus on key details and shading techniques that will bring your drawing to life.
Materials You’ll Need:
- Pencil
- Eraser
- Drawing paper
- Optional: blending stump or Q-tip for shading
Step-by-Step Guide:
Outline the Shape: Start with a simple oval for the body and a smaller oval for the head. Connect them with light strokes to form the neck.
Facial Features: Raccoons are known for their mask-like facial markings. Draw two darker patches around the eyes, oval-shaped eyes, and a tiny triangle for the nose. Remember, your raccoon’s expression is in these details.
Adding the Paws: Sketch the front paws as small ovals at the bottom of the body oval, and don’t forget to add little curved lines for the claws.
Tail and Ears: Give your raccoon a bushy tail with alternating light and dark rings and pointy ears atop its head.
Fur Texture: Use short strokes to mimic fur, following the direction the fur grows in. This will add realism to your drawing.
Shading: Identify the light source in your drawing and add shading accordingly. Under the body, tail, and inside the ears are usually shaded to add depth. Use a blending stump or your finger to smoothen the pencil shades.
Tips:
- Practice: Practice makes perfect, so don’t be discouraged if it’s not perfect the first time.
- Details Matter: Paying attention to facial features and fur patterns can make a big difference.
- Patience: Take your time to layer the shading gradually, building up the texture and depth.
Remember, every artist has a unique style, so embrace yours and enjoy the process of creating your inquisitive little raccoon!
See Related: Can a Raccoon Fit in Your Bum? Debunking Myths and Addressing Concerns
The Elegant Swan
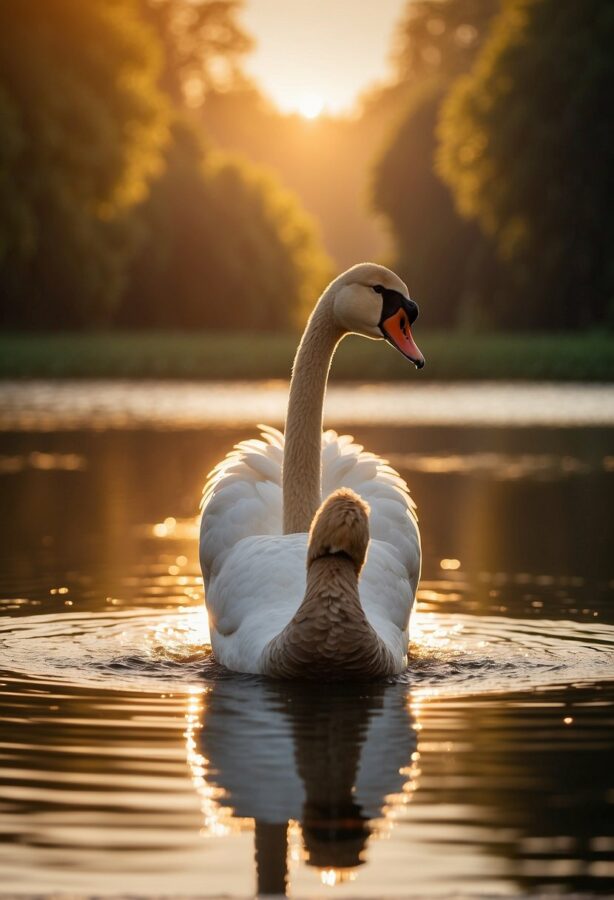
Drawing wildlife, particularly birds like swans, can be a relaxing and enjoyable activity. Swans are known for their graceful appearance and movement, which can be captured beautifully in simple drawings. To start, remember that the proportions of your swan are key; a swan’s body is typically elongated and smooth with a long neck that curves gracefully.
Drawing the Body and Neck:
- Start with an oval shape for the body.
- Extend a long, curved line upwards from the body to create the neck.
- Add a smaller oval at the end of the neck for the head.
Sketching the Wings:
- Swans have large, majestic wings, so draw another curved line above the body to represent the folded wing.
- Add overlapping lines within this shape to indicate feathers.
Capturing the Movement:
- To depict the swan in motion, gently curve the lines to mimic a swimming posture.
- For a swan in flight, spread the wings wider and add pointed feathers at the tips.
Part | Detail to Add |
|---|---|
Beak | A small triangular shape |
Eyes | A small circle with a dot inside |
Feathers | Overlapping lines for texture |
Water Movement | Wavy lines around the swan’s base |
In conclusion, Your wildlife drawing of a swan can capture the essence of this elegant bird with just a few lines and attention to its distinct proportions and movement. Happy drawing!
The Slithering Snake
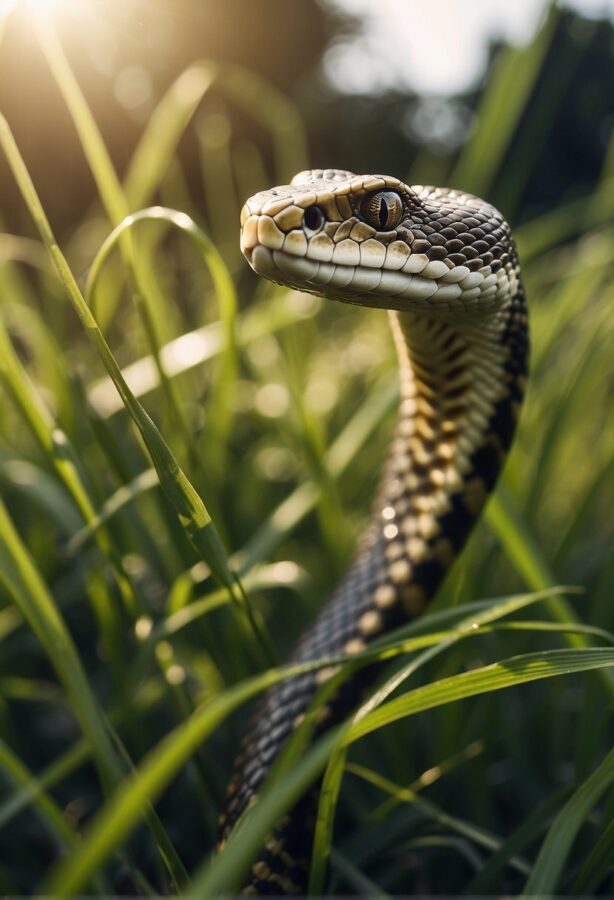
When drawing wildlife, capturing the intricate details of snakes can be both challenging and rewarding. The slender form and elegant patterns of these reptiles offer a fantastic opportunity to practice your pencil skills.
Capturing the Essence of Reptiles
To begin drawing a snake, you should start with the basic shape. Snakes are elongated, legless, and flexible, so capturing this fluidity is key.
- Start with a lightly drawn S-shaped line to represent the snake’s movement.
- Add an oval for the head and a line for the opening of the mouth.
- Create two small circles for eyes and a line for the forked tongue if the mouth is open.
Remember, the smooth texture of a snake’s skin is unique amongst reptiles, so a steady hand will help you represent it accurately.
The Art of Snake Patterns
The patterns on a snake’s skin are not only beautiful but also serve as camouflage in the wild. Here’s how to draw them:
- Observe the specific pattern of the snake you wish to draw—be it stripes, diamonds, or spots.
- Lightly pencil in the overall pattern before adding details.
- Once the basic pattern shape is defined, add depth with shading to make the texture stand out.
Make sure to use references to accurately replicate the snake’s patterns, as they are key identifiers for different species.
By following these simple steps and paying attention to the characteristics of reptiles, you can create a stunning snake drawing that captures the beauty and essence of these fascinating creatures.
The Wise Old Owl
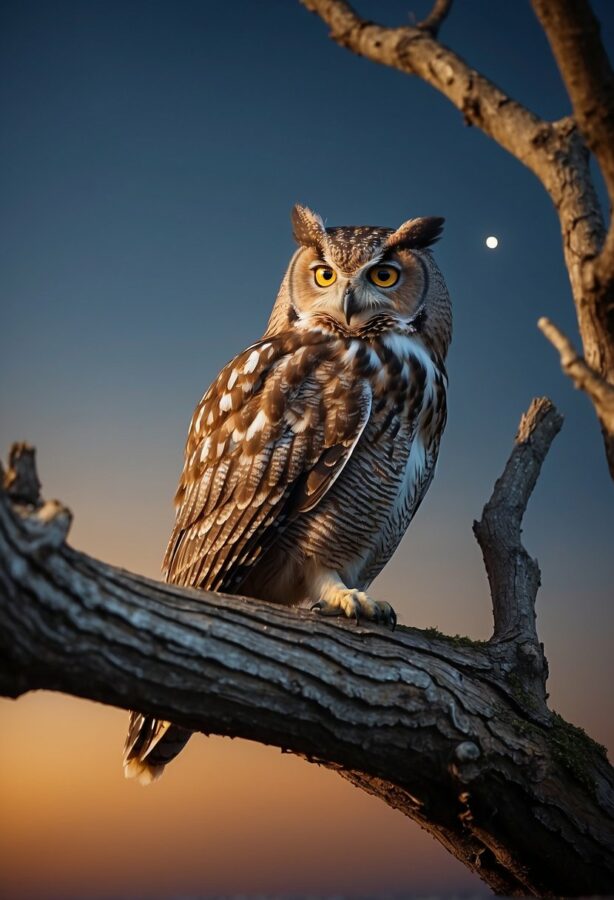
Drawing wildlife, particularly birds, combines an appreciation for nature’s beauty with the charm of artistic creation. When you think of wisdom in the avian world, the owl is a distinguished figure. With its silent flight at night and keen hunting skills, the wise old owl is not only an emblem of knowledge but also a fascinating subject for beginners in drawing.
To start your owl, you’ll need a basic set of drawing tools: a pencil, eraser, and drawing paper. Optionally, you might want to have some colored pencils or markers on hand to add life to your owl after the sketch is complete.
Step 1: Draw a large upright oval for the owl’s body. Above it, add a smaller horizontal oval for the head.
Step 2: For the eyes, sketch two large circles within the head oval. Give it that trademark wisdom by drawing smaller circles inside and filling them in for the pupils. Owls are known for their striking eyes, so emphasize them well.
Step 3: Beneath the eyes, add a small, curved beak. Owls possess a sharp beak that reflects their nocturnal predatory nature.
Step 4: Indicate the plumage by drawing soft, wavy lines along the body oval for feathers. Their feathers are unique, allowing silent flight during the night to ambush prey.
Step 5: For the wings, draft two large shapes on either side of the body, mirroring the soft curvature of feathers.
Step 6: Complete your owl by adding clawed feet at the bottom and a couple of small tufts atop the owl’s head—if you’re depicting a species with ear tufts.
Remember, your owl doesn’t have to be perfect. The goal is to capture the essence of this magnificent bird. The process of creating your owl should be enjoyable and educational, giving insight into the creature’s delightful form and attributes.
The Busy Bee
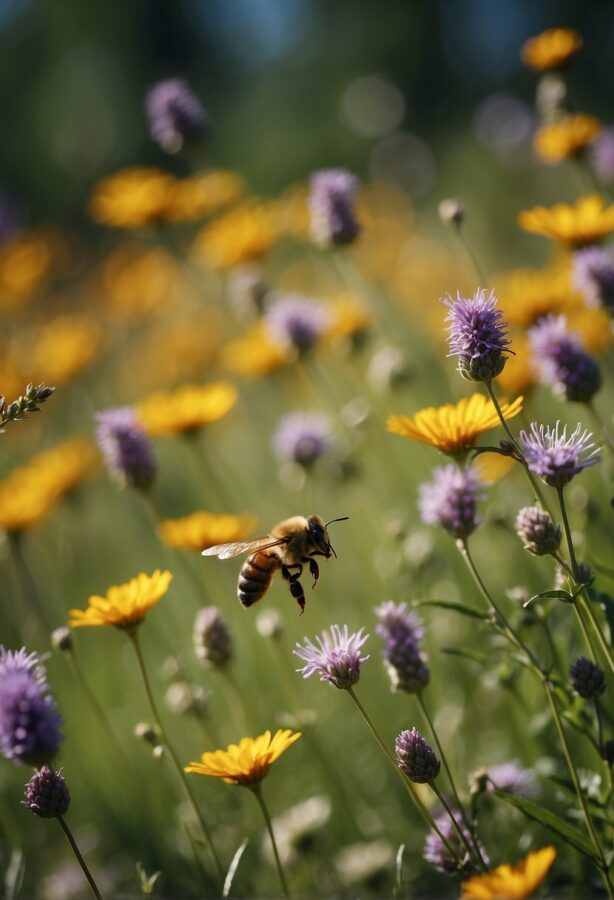
Drawing a bee can be a delightful way to connect with the natural world. As you capture the movement and details of this buzzing pollinator, you immerse yourself in the fascinating world of insects. Let’s break down the drawing into simple steps.
Step 1: Start with an oval for the head. This serves as the foundation for your bee’s face.
Step 2: Adjacent to the head, sketch a larger oval for the thorax. This is where the bee’s wings and legs attach.
Step 3: Now, draw a rounded, elongated shape behind the thorax for the abdomen. Bees are known for their striped pattern, so add some horizontal lines across the abdomen.
Step 4: For the wings, outline two teardrop shapes on the thorax’s topside. Be gentle with your pencil to give the wings a delicate, translucent look.
Step 5: Add the legs protruding from the thorax. Remember that bees have six legs, with joints that allow for efficient movement.
Step 6: Give your bee character with two small, circular eyes on the head and a pair of antennae for sensing the world around it.
Bonus Tip: Wildlife artist Jason Morgan emphasizes the importance of light when drawing. Ensure your bee has a light source and shade your drawing accordingly to add depth and realism.
Here’s a quick reference for your bee drawing:
Body Part | Shape | Details |
|---|---|---|
Head | Small Oval | Two eyes, antennae |
Thorax | Larger Oval | Wings attached, legs protrude |
Abdomen | Rounded Elongated Shape | Horizontal lines for stripes, shade gently |
Wings | Teardrop Shapes | Translucent look, delicate edges |
Legs | Small lines with joints | Six legs, each with a specific bend |
With each step, your bee comes to life on the paper—buzzing with potential and awaiting your final touches. Have fun with your drawing and remember, practice makes perfect!
The Playful Penguin
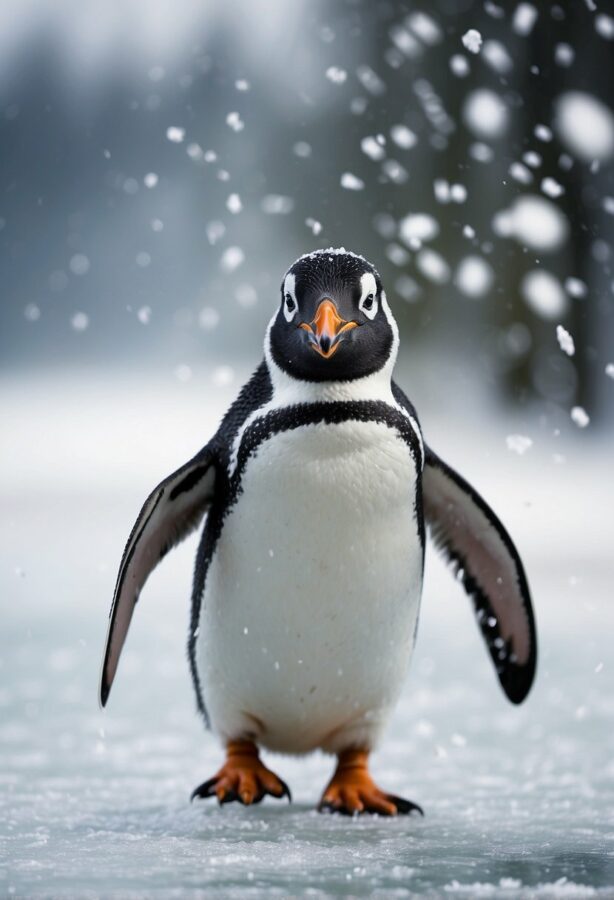
Drawing wildlife can be a joyful experience, especially when your subject is as endearing as the penguin. Their distinctive waddle and sociable personality often make penguins a favorite among artists. Let’s walk through a simple guide to capture the essence of these charming creatures in your sketchbook.
Step 1: The Basic Shape
- Start with an upright oval for the body.
- Add a smaller circle at the top for the head.
Step 2: Detailing the Face
- For the eyes, draw two small circles and fill them in, leaving a little white dot for the sparkle.
- Sketch a simple triangle for the beak.
Step 3: Flippers and Feet
- Attach two elongated ovals on each side for the flippers.
- Draw short and stubby ovals at the bottom for the feet.
Step 4: The Final Touches
- Penguins are known for their tuxedo-like appearance, so add a contrasting belly.
- Use short strokes around the head and neck for a fluffy texture.
- Don’t forget the tail! A small rectangle at the bottom back of the oval will suffice.
Practice is key when mastering any new drawing skill. Spend time observing pictures or videos of penguins to understand their movements and how they interact with their environment. The more you practice, the more you’ll be able to infuse your drawings with the penguin’s playful personality.
Before you know it, with consistent practice, these charismatic birds will come to life on your pages. Every stroke adds character and charm, and you’ll surely enjoy each moment spent with your sketchbook as these playful penguins emerge from your imagination.
The Graceful Fish
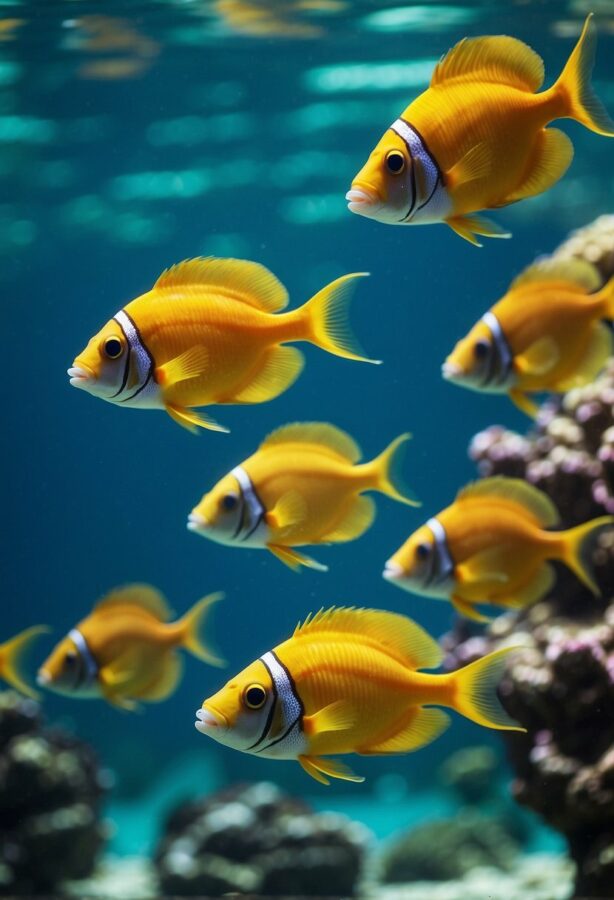
Drawing fish can be a soothing experience, bringing the elegance of water dwellers onto your canvas. Let’s dive into the simple steps you can take to capture their beauty.
Start with the Body: Sketch an elongated oval for the fish’s body. This shape represents the main part of your fish and will guide the proportions of the rest of your drawing.
Draw the Tail and Fins: Add a triangle at one end of the oval for the tail. For the fins, use curved lines—think of drawing a wave that adds motion to your fish.
Detailing the Head: At the front of the oval, create a smaller circle for the head. Merge it smoothly with the body. For the mouth, a simple line will do, while for the eyes, a small circle with a dot inside creates the gaze.
Patterns and Scales: To suggest scales, you can draw ‘U’ shapes or simple lines in wave-like patterns along the body. This doesn’t need to be detailed—just enough to give the texture of scales.
PartSuggestionBodyElongated ovalTail & FinsTriangles & wavesHeadSmaller circleScales‘U’ shapes or linesRefraction and Light: Remember, when in water, the light bends, creating refraction. Your fish’s lines might appear jagged or wavy due to water waves. To depict this, slightly curve your lines where the body meets water.
Drawing fish is not just about creating an image; it’s about capturing the feeling of grace and movement. By following these steps, you are on your way to creating a peaceful depiction of aquatic life that weaves the calm of the water with the fluidity of its inhabitants. Enjoy the process and watch as your fish comes to life on the paper.
See Related: Unleashing the Wild: Exploring the World of Fierce Animals
The Towering Giraffe
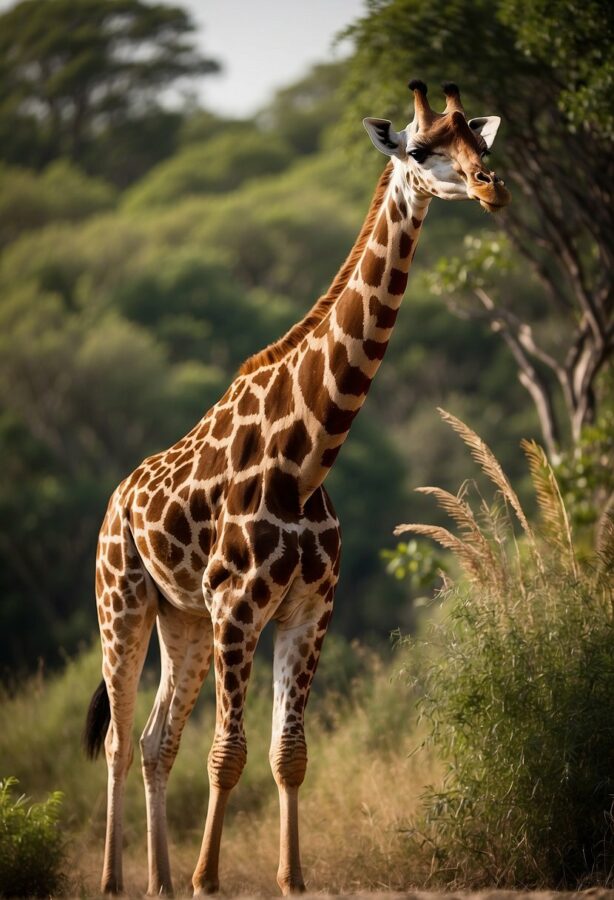
Drawing wildlife, particularly the majestic giraffe of the African savannah, can be an enjoyable yet challenging exercise. Let’s break down the steps to create an easy rendition of this tall creature known for its unique spot patterns.
- Begin by sketching a long vertical line for the giraffe’s neck, which is its most distinctive feature. Giraffes are the tallest land animals, thanks to their towering necks.
- Attach two smaller horizontal lines at the top of the neck for the ossicones (horn-like structures). These are unique to giraffes and are topped with tufty hair.
- Continue with an oval shape for the head, adding detail with large, almond-shaped eyes and a pair of small ears. Remember, the giraffe’s face conveys its gentle nature.
- For the torso, draw a horizontal oval, but keep in mind that a giraffe’s shoulders are higher than its hips.
- Extend four long, slender rectangles from the torso for the legs, paying attention to proportion. Giraffe legs are nearly as long as their necks!
- Accentuate the giraffe’s physique with its characteristic spot patterns. No two giraffes have the same pattern, so feel free to be creative.
- Finally, draw the swishing tail and the mane that trails down the length of the neck.
Tips:
- Keep your lines light until you’re happy with the proportions.
- Giraffes are often seen in groups, so consider creating a small family using varied sizes to represent adults and calves.
- Study photos of giraffes in the savannah for inspiration on posture and environment.
With practice, you can capture the serene grace of Africa’s gentle giants right on your canvas. Happy drawing!
The Sturdy Tortoise
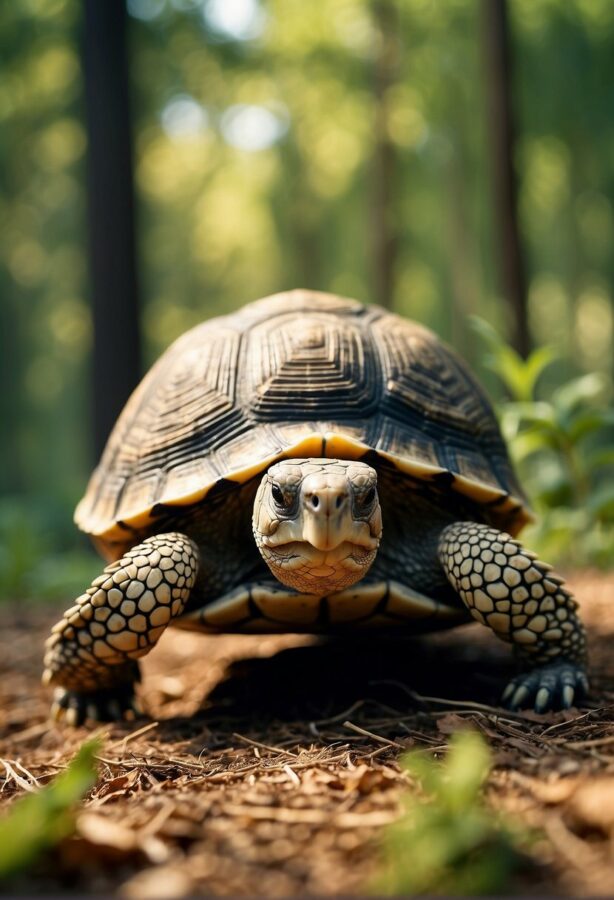
Drawing wildlife, particularly reptiles like the sturdy tortoise, can be a rewarding endeavor. Your illustration will bring out unique features such as textured skin and robust shells. These creatures are symbols of resilience in nature, and capturing their essence requires attention to detail.
Step 1: Start with the outline of the shell. Sketch an oval shape; remember to make it slightly flattened at the bottom where the tortoise’s body will meet the ground.
Step 2: Add the head, legs, and tail. Draw a small circle in front for the head and short, sturdy legs at each side of the shell. Include a small, rounded tail at the rear.
Materials Needed:
- Drawing paper
- HB or No. 2 pencil
Step 3: Within the outline, create segments on the shell for a realistic texture. Tortoise shells have a patterned design with each segment known as a scute.
Step 4: Give life to your tortoise by sketching in the eyes and mouth on its head. Then, detail the legs with a few lines to show the rough, scaly texture typical of reptiles.
- Eyes: Two small circles near the top of the head
- Mouth: A short, curved line beneath the eyes
Step 5: Look closely at your drawing and erase any unnecessary lines. Enhance the shell by shading areas to show curvature and depth.
For shading:
- Use light strokes near the center of each scute
- Apply darker shading towards the edges
Step 6: Finalize your wildlife subject with a touch of its habitat. Perhaps, add grass or a hint of water around your tortoise to place it in the wild.
The Speedy Rabbit
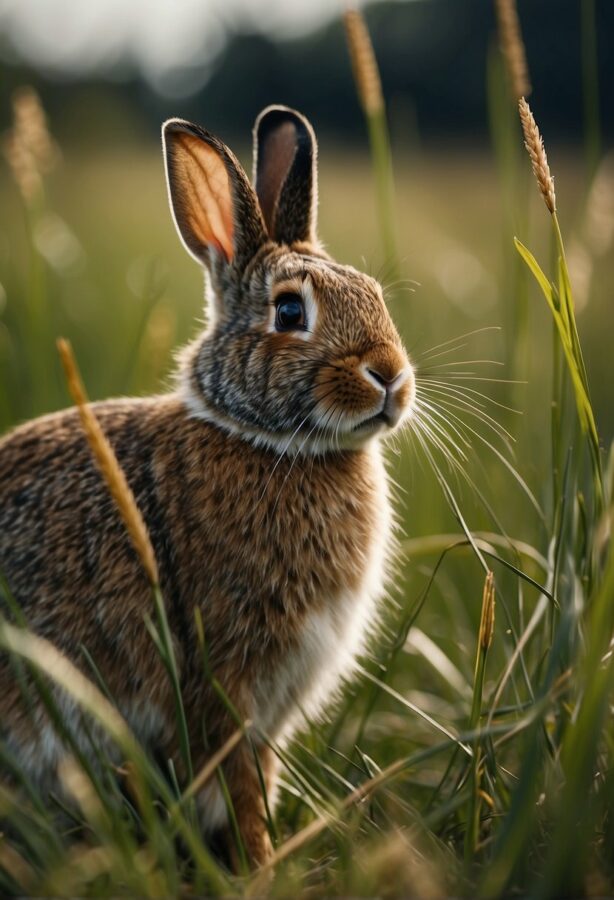
Drawing wild animals can be a delightful venture, and capturing the essence of the speedy rabbit is not only fun but also a great practice in illustrating movement and texture. Rabbits are well-known for their soft fur and fast speeds, making them fascinating subjects for any artist.
To begin your rabbit drawing, start with the basic shape of the head. Imagine it as a slightly elongated sphere. Your rabbit’s head will serve as the anchor for the rest of the drawing.
Step 1: Sketch the ears. Rabbits have long and distinct ears. Lightly draw two tall, narrow oval shapes on top of the head, and give them a slight curve to add character.
Step 2: Outline the body. Think of the rabbit’s body as a fusion of soft curves. Draw a larger elongated shape beneath the head for the body, ensuring you leave space for the legs.
Step 3:
- Add texture for fur. With short, swift strokes, mimic the texture of fur along the outline of the rabbit’s head and body. Keep your touches light to suggest the fluffiness.
Step 4: Form the legs with speed in mind. Rabbits are agile creatures. To show this, draw the hind legs bent and ready to sprint. For the forelegs, keep them simple with a similar, but smaller, fluffy outline.
Remember, if you’re striving for realism, pay extra attention to the fur’s flow and the positioning of the ears; they can convey if your rabbit is at rest or attentive. Enjoy the process, and let your pencil mimic the fleet-footed nature of this charming wild animal.
The Proud Rooster
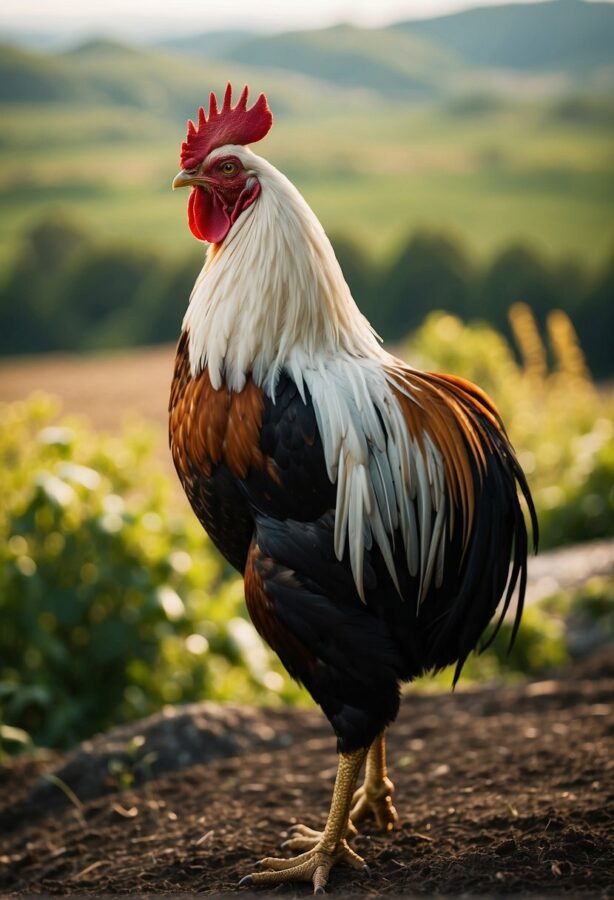
Drawing wildlife can be both joyful and rewarding. One delightful subject to sketch in the avian world is the rooster, often admired for its vibrant colors and commanding presence. Here’s how you can easily capture the essence of this farmyard sovereign on paper.
Materials Needed:
- HB or H2 pencil
- Eraser
- Colored pencils
- Drawing paper
Step 1: Outline the Shape
Begin with an oval for the head, positioned toward the upper right of your paper. Attach a larger oval beneath for the body, slightly tilting to the left to mimic the rooster’s proud stance.
Step 2: Add Details to the Head
Sketch a small cone-shaped beak and a comb, the fleshy crest on top of the rooster’s head. Include the eyes by drawing circles with a dot inside for the pupils, adding character and life.
Step 3: Feathers and Tail
Create the wing by adding a curved line that extends from the center of the body. Roosters are known for their exquisite tail feathers, so draw long, arching lines from the back of the body to represent this.
Step 4: Color and Texture
With colored pencils, fill in the rooster’s feathers. Combine reds, oranges, and browns for a natural look. Highlight areas where light naturally hits and shade other parts to add depth and dimension to your drawing.
Step 5: Final Touches
Roosters are famous for their early morning calls. Illustrate this energy by adding motion lines around the beak, and don’t forget the feet with their distinct spurs.
Listen for rooster calls in your mind as you apply your color, bringing your drawing to life with the personality and striking beauty of this beloved bird.
See Related: The Silent Crisis of Feeding Wild Animals: Here’s What You Should Actually Do
The Ambling Armadillo
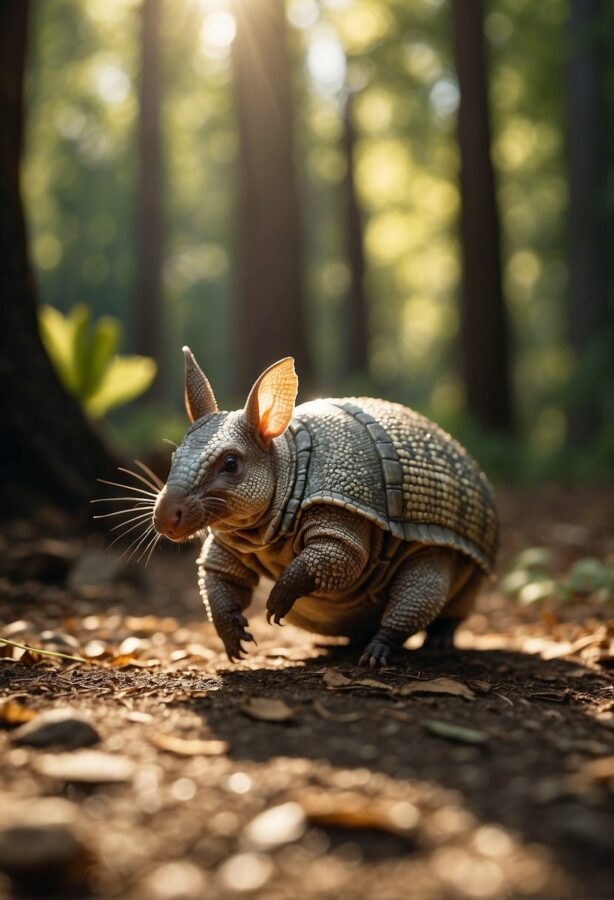
Drawing wildlife is a rewarding experience, and the armadillo, with its unique armored skin, offers a charming subject for artists of all skill levels. Native to the warm scrublands of Texas, this peculiar creature can be a fun challenge to draw due to its distinctive textures and shell details.
Step 1: Begin with the armadillo’s body shape. Sketch a long, oval shape for the body and a smaller oval for the head, connecting the two with a gentle curve for the neck.
Step 2: Add the armor. Draw a series of curved, horizontal lines across the body oval for the bands of the armadillo’s armored skin. Keep your lines light; you’ll refine these as you go.
- Details: For the head, sketch in two small, dark eyes and a tapered snout to capture that signature armadillo look. Don’t forget the small, rounded ears!
Step 3: Focus on the legs. Armadillos have short, sturdy legs. Draw four small ovals for the upper part of each leg and add a flattened bottom for the feet. Claw details are important here.
Step 4: Texture and shading. Use light hatching for shading underneath the body and around the limbs to create depth. The bands of the shell should have a slightly rough texture to reflect the armadillo’s protective skin.
- Shading Tips: Areas where the body curves inward, like under the belly and the inside of the legs, are typically darker, so apply a bit more pressure with your pencil in those areas for a more realistic effect.
By following these simple steps, you’ll have an adorably ambling armadillo taking shape on your page. Remember to enjoy the process and to embrace the unique characteristics of this fascinating Texan wildlife.
The Sleeping Fox
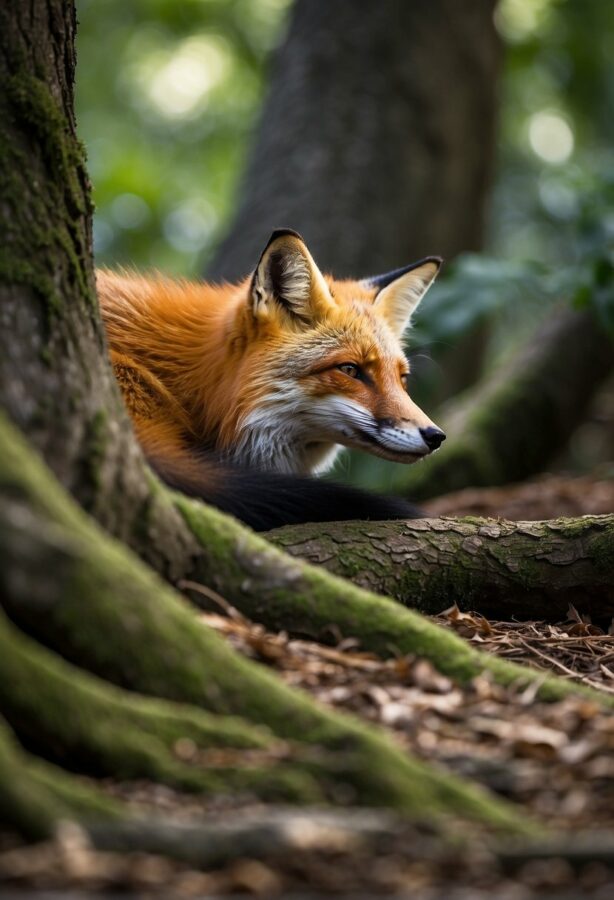
Embarking on the journey to create a drawing of a sleeping fox, it’s essential to understand the subtleties of a fox’s resting posture and how it blends into the forest setting. Your aim is to capture both the fox’s serene essence and its natural camouflage.
To start:
- Draw a circle on the paper’s right side for the fox’s head. Mark four points to indicate the circle’s width and height, then connect them with curved lines for precision.
- Add a larger, elongated oval shape for the body, ensuring it intersects slightly with the head circle.
- Sketch a U-shaped arc within the head circle for the fox’s snug, nestling muzzle.
Now refine your fox’s form:
- Outline a fluffy tail resting along the body, using light, feathery strokes.
- For the fox’s legs, draw gentle curves tucked beneath the body.
- Suggest the ears with small triangles on top of the head, slightly tilted to convey relaxation.
Next, breathe life into your drawing by adding details that depict the fox blending into the forest:
- Include small lines and dashes to represent grass and leaves around the sleeping fox.
- Use short strokes to add fur texture, enhancing the camouflage effect.
- Draw the surrounding forest elements with a light touch so the fox remains the focal point.
Then, finish by:
- Tracing over your pencil lines with ink to define your drawing.
- Carefully erase any excess pencil marks after the ink dries.
Your drawing of a sleeping fox should now convey both peace and the clever subtlety of an animal at rest within the forest. With gentle strokes and attention to detail, you’ve captured a moment of natural tranquility.
Related Resources: