Drawing dogs can be a delightful experience whether you’re a seasoned artist or a beginner looking to express your love for these loyal companions. The variety in dog breeds offers a spectrum of shapes and sizes to capture on paper, from the petite charm of a Chihuahua to the robust curves of a Golden Retriever.
When you start to draw a dog, begin with basic shapes to construct the overall body. Simple circles and ovals can help you outline the torso and head, while straight or slightly curved lines can define the legs.
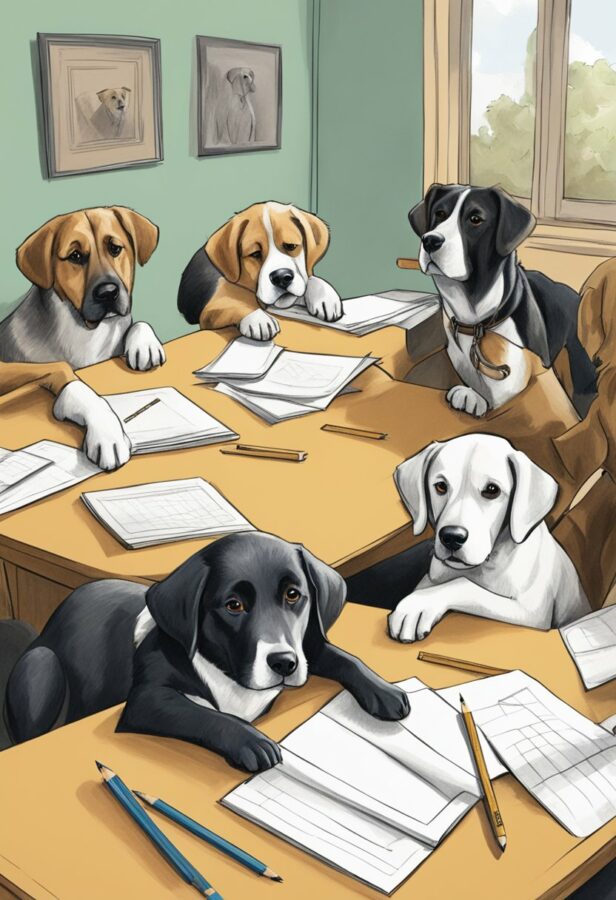
Capturing the essence of different dog types in your artwork demands attention to distinctive details. For a cartoon dog, you may want to exaggerate features like big, expressive eyes or a wagging tail to convey emotion and movement.
When drawing an easy dog for beginners, focus on less complex breeds with fewer fur details. A short-coated breed, like a Beagle, can be a good starting point. If you wish to challenge yourself with a realistic dog, observe the nuances in fur texture and color, shadows, and light to bring depth and life to your drawing.
For those aiming to capture a cute dog, emphasize the traits that evoke ‘cuteness’ such as a rounded face, large eyes, and a small button nose. Keep the lines soft and the proportions slightly disproportionate to enhance the adorable factor.
If your goal is to draw a specific breed, such as a Golden Retriever, study their unique characteristics—like the flowing golden fur, friendly eyes, and broad head. Using reference photos can greatly aid in getting the details right, while understanding canine anatomy will contribute to a more accurate portrayal.
See Related: Expressions of the Wild: Easy Wildlife Drawings for Your Journal
Sketching the Canine Form
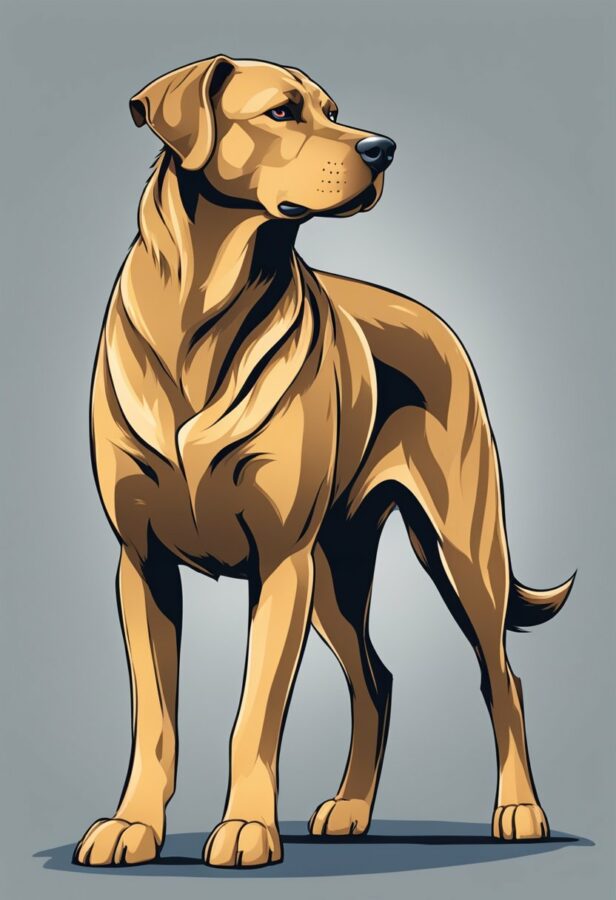
When drawing a German Shepherd, focus on its long muzzle and large, erect ears. They have a distinctive angled back, so pay attention to the slope and the way their muscular body is structured.
For a Golden Retriever, capture the essence of their friendly demeanor through their expressive eyes and soft, wavy fur. Golden retrievers have a sturdy build, so illustrate a solid chest and strong legs.
Pomeranians are all about the fluff. When sketching them, emphasize their poofy double coat and small, alert face. Their tiny nose and bright eyes can give them a very endearing expression.
Bulldogs and French Bulldogs have a distinctive, wrinkled face and pushed-in nose. Bulldogs have a stockier build, while French Bulldogs are a bit smaller with large, ‘bat ears’. Remember to add the folds of skin around their face for that characteristic look.
Drawing a puppy involves capturing their oversized paws and often clumsy, playful demeanor. Regardless of the breed, puppies will have softer, rounder features.
When sketching a Chihuahua, illustrate their petite body and large, round eyes that dominate their face. Their ears are quite large in proportion to their head, which is an essential feature of the breed.
For a Labrador Retriever, show their athleticism and friendly features. They have a strong build, an expressive face, and a thick, tapering tail. Labradors also have a short, dense coat that should be indicated with smooth, less textured strokes.
A Corgi’s most distinctive feature is their short stature and long body. Their large, upright ears and expressive, foxy face make them unique. Depict their short, powerful legs and a fluffy coat that’s thicker around the neck and chest.
As you draw different dog breeds, remember to study their unique physical characteristics—this will help your sketches be more accurate. For instance, Poodles have curly, dense fur that should be represented with tight, scribbly lines to show the texture.
Remember, the key to capturing any dog breed in your sketching is to observe their defining traits. Whether it’s the solid frame of a Labrador Retriever or the curly elegance of a Poodle, each breed has its own blueprint to follow.
When drawing dogs, keep proportions in mind, and start with basic shapes to build the form. Details and textures, such as fur and eyes, come to life in the refining stages. Happy drawing!
Capturing Expressions
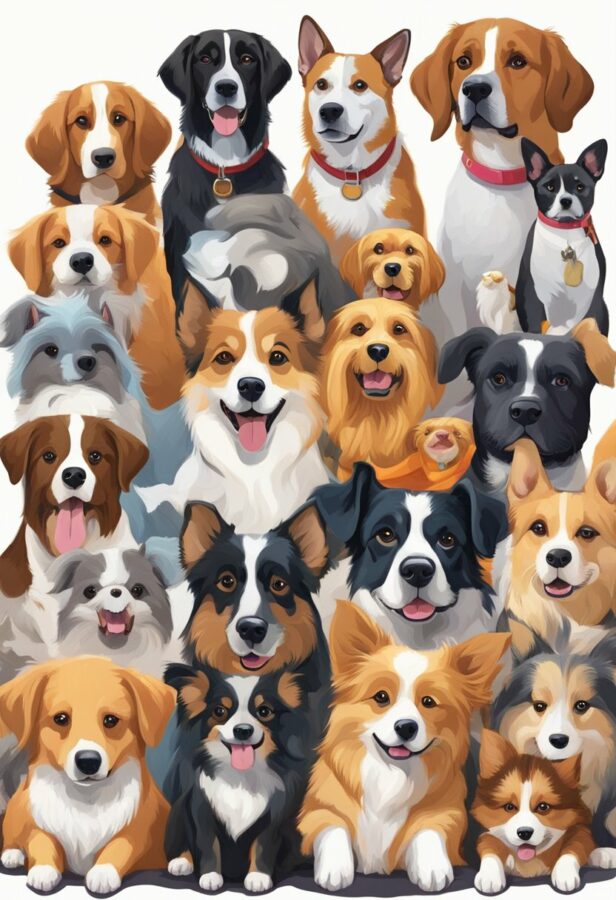
When drawing dogs, capturing their expressions is paramount to bringing your sketch to life. Focus especially on the face, as a dog’s emotions are vividly expressed through their eyes, mouth, and ears.
For the eyes, observe the shape and position. Dogs with round, large eyes often exude friendliness, while those with narrow eyes may appear more intense.
Sketch lightly to get the shape right before darkening the lines. A slight upward curve in the outer corners can indicate joy, whereas a downward turn might suggest sadness.
Mouth and snout shapes also play a crucial role; a slightly open mouth with a relaxed tongue can depict happiness. Remember, the length and curvature of the snout vary between breeds, so use references if necessary. For longer snouts, ensure that the nose and nostrils are proportionate, adding delicate shading to hint at the texture.
Ears are expressive components too. Erect ears indicate alertness, while drooping ones may imply a relaxed or submissive mood. Observe the head tilt as well; a curious dog will often tilt its head, adding to the expressive nature of your subject.
Brows can be subtle but effective. A raised brow can communicate surprise or curiosity, whereas lowered brows might show aggression or concern. Pay attention to the fur pattern here, as it can accentuate the brow movement.
Lastly, the neck affects expression by indicating posture. A stretched neck may suggest alertness, whereas a retracted neck can show fear or aggression.
Here’s a quick format to reference:
- Eyes: Large and round for friendliness, narrow for intensity.
- Mouth & Snout: Open with a relaxed tongue for happiness; adjust length per breed.
- Ears: Erect for alertness; drooping for relaxation or submission.
- Brow: Raised for surprise; lowered for aggression.
- Neck: Stretched for alertness; retracted for fear.
Use these tips to imbue your dog drawings with lifelike expressiveness, paying attention to the shapes and positions that convey their unique emotions.
Different Breed Characteristics
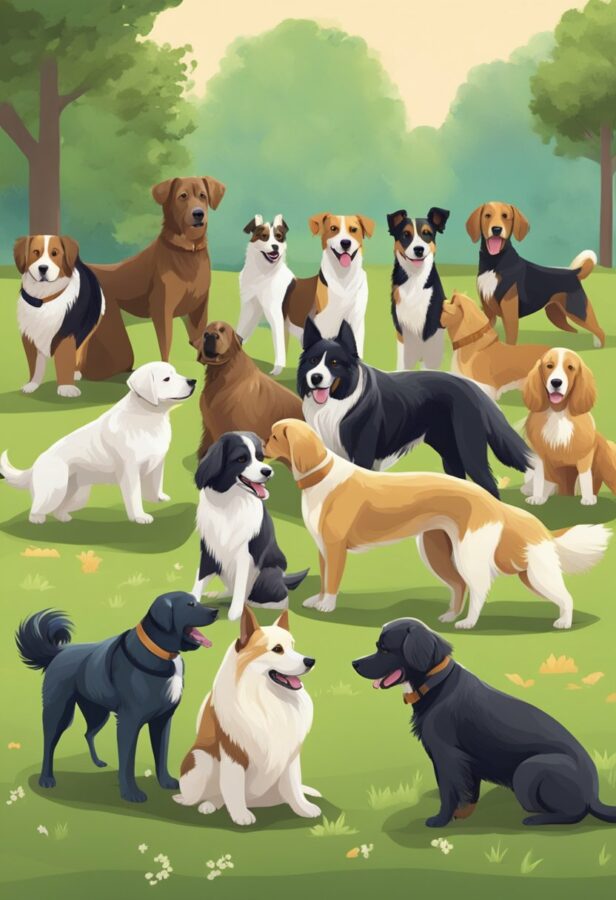
When you’re drawing different dog breeds, it’s essential to take note of distinctive features and common physical traits. Below is a guide to help you capture the unique characteristics of various breeds accurately.
German Shepherd: Recognized for their erect ears and long snout, German Shepherds have a strong outline with a bushy tail and a distinct backline that slopes down from the shoulders to the tail. When drawing, emphasize the muscular body and use layered lines to mimic the dense fur texture.
Golden Retriever: Golden Retrievers are adored for their friendly and expressive faces. Focus on their round eyes and broad head. Illustrate the long, feathery coat with wavy lines, especially around the neck, legs, and tail.
Pomeranian: The Pomeranian’s fluffy double coat and small, alert ears are key traits. When sketching, start with a small round body and add a large amount of fluff, especially around the collar area to represent its dense fur.
French Bulldog: Known for their bat-like ears and compact body shape, French Bulldogs have distinctive wrinkles and a short snout. Your drawing should emphasize these wrinkles and their stout stature.
Labrador Retriever: Labradors possess a wide head and thick otter-like tail. They have a short, dense coat that should be represented with smooth, clean lines. Capture their friendly demeanor through their expressive eyes and slightly drooping ears.
Corgi: Corgis are famed for their short stature and long body. In your drawing, make their legs short and their ears large and upright. Show the variation in fur length from the short hair on their heads to the thicker brush around their neck.
Poodle: Poodles have a curly coat that can be a challenge to draw. Start with the basic body shape and then use tight, scribbled lines to represent the curls. Don’t forget the pompoms on the tail and head, if drawing a show-cut Poodle.
Remember, accurate proportions are key for all breeds. Eyes and ears should be placed correctly on the head, and body sizes should reflect the breed standards. Use references to ensure you capture these unique breed characteristics.
See Related: Cute as a Button: The Most Adorable Cats and Kittens
Playing with Poses
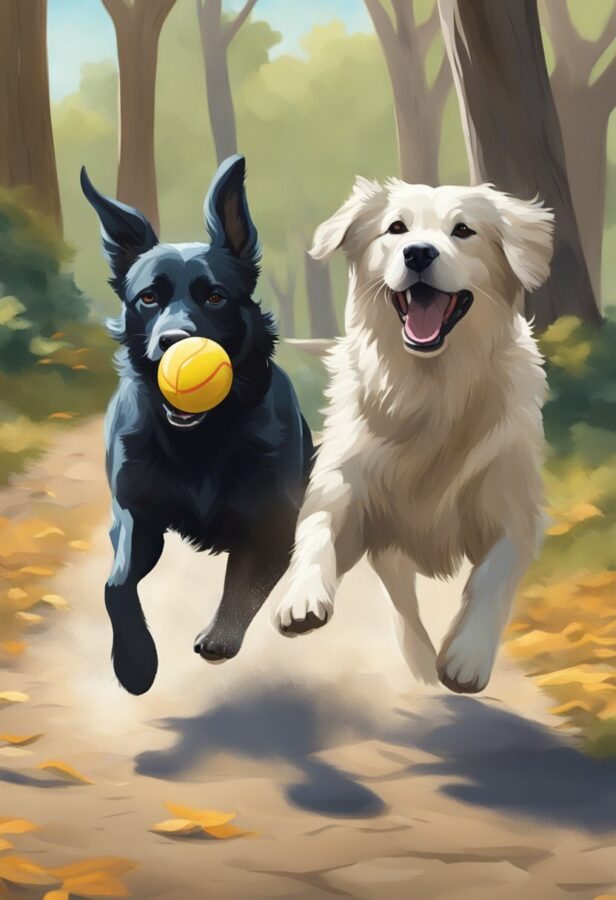
When drawing your four-legged friends in various poses, capturing the dynamic nature of their movement is key. Consider the following tips for different dog poses:
Sitting Pose: Start with the basic shapes, a circle for the head and an oval for the body. Focus on getting the angles of the legs correct; the front paws should bend at the elbow, and the back leg should be tucked under the body. Keep the paw pads visible from the sitting angle.
Running Pose: Convey motion by stretching out the legs and elongating the body. Emphasize the back leg pushing off the ground and show the other leg reaching forward. To capture speed, you may want to add a slight blur to the paws.
Jumping Pose: Show the energy of the jump with the legs fully extended. The back should have a natural curve, and all four paws should be off the ground. Since you’re focusing on the action of jumping, detail is less important than the pose itself.
Sleeping Pose: Illustrate a sense of relaxation by drawing your dog with a soft, curved back. Legs can be sprawled or tucked in, but ensure the pose reflects restfulness. Pay attention to the softness in the paw pads, which are often visible depending on the angle.
Remember, studying the anatomy of dogs will greatly enhance the believability of your drawings. Practice drawing different breeds in these poses to get a feel for how their body structure affects posture and movement. Keep your strokes light and adjust as necessary to maintain proportion.
Fur Texturing Techniques
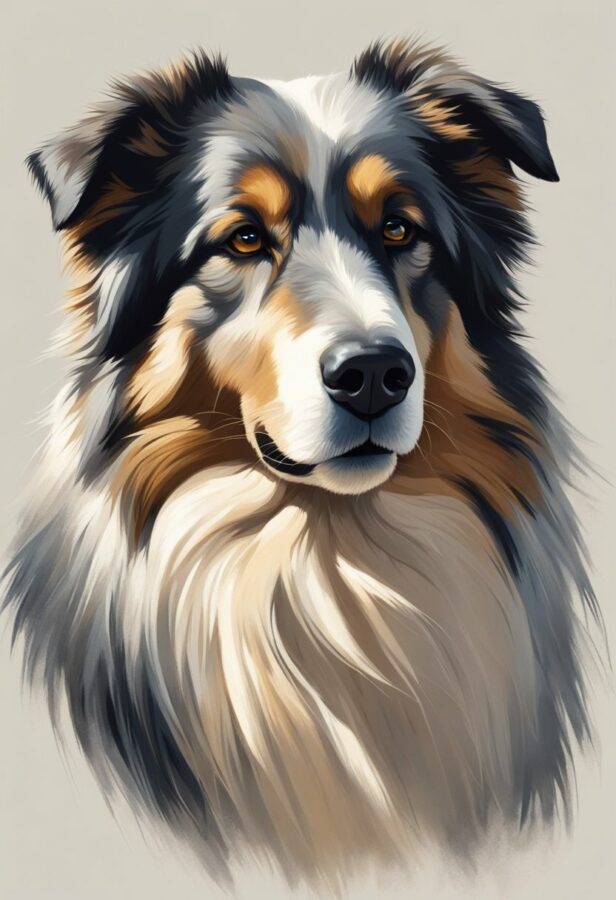
When you embark on painting a dog, fur texture is an integral feature to capture their unique look. The following steps and tips will guide you through achieving realistic fur in your dog drawings.
Creating the Underpainting
Start with a light sketch of the overall fur direction patterns. Use a base layer of paint that’s a mid-tone of the dog’s fur color. This underlayer will serve as a guide for your detailed fur textures.
Short Fur
For dogs with short fur, such as Boxers or Greyhounds, use short brush strokes or pencil lines that follow the direction of fur growth. Concentrate on the areas where the fur might clump together, like around the elbows or beneath the ears. You’ll want to:
- Work in layers, starting with lighter tones.
- Add darker tones for depth, following the form of the dog’s body.
- Keep your strokes concise and deliberate.
Long Fur
Breeds with long fur, like Collies or Afghan Hounds, require longer, flowing strokes. Observe and replicate the way fur naturally clumps and flows to create volume. Here are some steps to consider:
- Begin with loose, light strokes to map out the fur direction.
- Apply layers, varying the pressure to create density and texture.
- Highlight clumps and strands of fur using lighter paint against the darker areas to bring out the details.
Wire Fur
For dogs with wiry fur, such as Schnauzers, concentrate on creating texture that looks tangled or crimped. Achieve this by:
- Using a dry brush technique with very little paint to create a rough texture.
- Applying quick, erratic strokes to mimic the wiriness of the fur.
- Layering colors to give the fur a coarse look while following the growth pattern.
Remember, practice is paramount in mastering fur texture. Observe your subject closely, and don’t rush the process. With each layer, step back and assess your progress, ensuring a natural and realistic portrayal of the dog’s fur.
See Related: From Canvas to Wilderness: Easy-to-Paint Wildlife Scenes
Adding Backgrounds
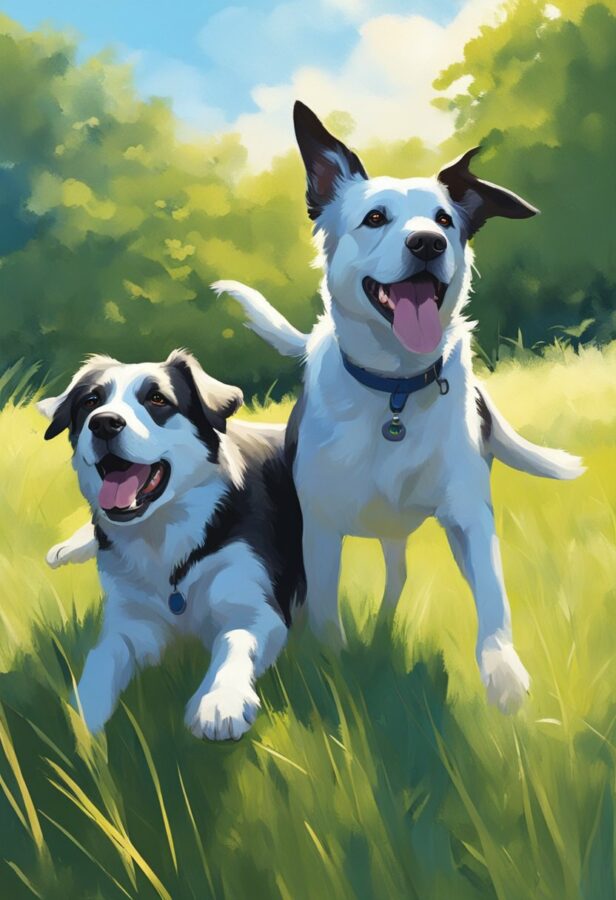
When drawing dogs, incorporating backgrounds can add depth and context to your artwork. Here’s how you can effectively add backgrounds to your dog drawings:
For a Domestic Dog scene:
- Sketch the environment: Begin with a light sketch of the room or garden where your domestic dog would likely be. Remember to maintain proportion relative to the dog’s size.
- Add details: Include elements like a dog bed, toys, or a food bowl to create a familiar atmosphere.
- Consider lighting: Use shading to reflect the indoor or outdoor lighting conditions. Soft shading works well for indoor scenes to indicate ambient light.
For a Working Dog scenario:
- Set the scene: Working dogs are often found in dynamic environments. Sketch the outline of a farm, police car, or rescue site as a backdrop.
- Action interaction: Show the dog interacting with the environment, like herding animals or navigating obstacles.
- Use perspective: Give the sense of space and activity with perspective lines leading toward the working dog.
For a Wild Dog habitat:
- Outline the wild: Start with an outline of the natural habitat, such as plains, forests, or mountains.
- Incorporate natural elements: Use trees, rocks, or water sources that complement the wild dog’s environment, keeping the focus on the animal.
- Highlight texture: Employ texture techniques to mimic fur, leaves, and terrain, which helps in blending the dog within its wild surroundings.
Here are some formatting suggestions when sketching your backgrounds:
- Use bold lines for the main subjects (the dog) and lighter strokes for the background to keep the focus on the dog.
- Apply layering: Begin with broad strokes for basic shapes and gradually layer details as you progress.
- Develop contrast: Vary the darkness of your strokes to separate the dog from the background elements effectively.
Remember, the background should support the story of your dog drawing. Whether your canine is lounging at home or in the middle of a rescue, the background you choose places your dog in a context that enhances the overall narrative of the scene.
Pencil vs. Ink
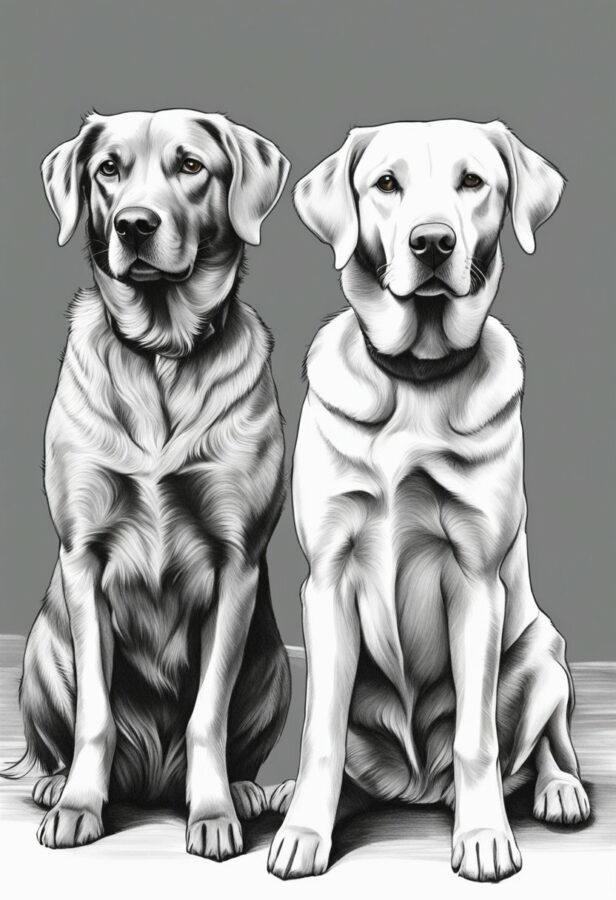
When you embark on capturing the essence of a dog’s character and physicality in your artwork, choosing between pencil and ink is instrumental in defining your drawing’s style and texture.
Pencil
Using a pencil grants you the flexibility to adjust the intensity of lines with pressure, allowing soft shading for fur and subtle details around the dog’s facial features. Pencils are forgiving; you can easily erase mistakes.
- For a labrador, start with light strokes to outline the dog’s blocky head and strong body, progressively darkening the lines as you define the features.
- For a poodle, use a softer pencil to create the curly texture of its unique coat, building up layers to convey volume.
Ink
Conversely, ink offers a bolder, more permanent line. It is excellent to create high-contrast images that emphasize texture.
- When drawing a Rottweiler, employ a fine-tip pen to render the short, dense coat with short, confident strokes.
- To depict a long-haired collie, use varied line weights to mimic the flow of its lengthy fur, increasing line thickness for darker areas.
Here’s a quick comparison to guide your choice:
Aspect | Pencil | Ink |
|---|---|---|
Erasability | Easy to erase and modify | Permanent; errors are harder to fix |
Line Variety | Pressure sensitive; enables varied line weights | Usually uniform; dependent on pen tip |
Shading | Smooth gradients achievable | Techniques like hatching needed |
Textures | Easier to blend and layer | Requires mastery of line work |
When choosing your medium, consider the desired outcome and the type of dog you’re drawing. Your approach to detailing fur, facial expressions, and posture can significantly differ between the forgiving nature of pencil and the definitive statement of ink.
See Related: Rare Axolotl Colors: Discover the Unique and Exotic Varieties
Watercolor Wonders
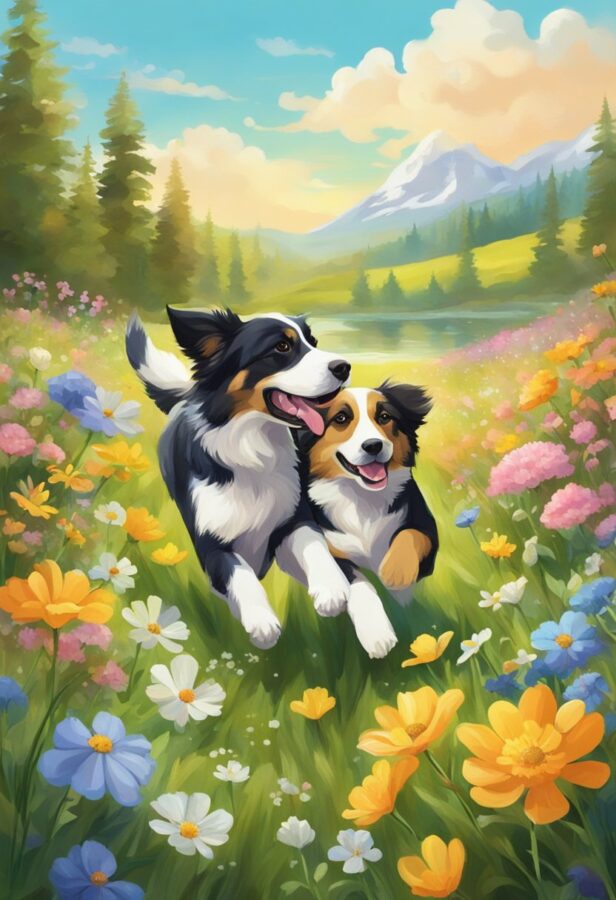
When painting dogs with watercolor, your approach will differ based on the breed’s fur texture and color. Here’s how to capture the essence of various dogs through the delicate art of watercolor.
For short-haired dogs like beagles:
- Begin with a light pencil sketch to define the form.
- Use a wet-on-dry technique for sharp edges.
- Apply the base color in smooth washes.
- Once dry, add fur details with a fine brush to suggest texture.
For long-haired breeds like the Afghan Hound:
- Sketch the flowing hair lightly.
- Wet the paper first before adding color to let the paint bleed naturally, mimicking the hair’s fluidity.
- Mix and layer colors while wet for depth.
- Define strands with dry-brushed highlights after the wash dries.
Golden Retrievers and other golden-hued dogs:
- Paint a warm, light wash for the underpainting.
- Mix yellows and browns for the characteristic golden color.
- Use the wet-on-wet technique to let the colors merge for a natural look.
- In areas needing texture, dab the paint with a paper towel while still damp.
For black and white dogs, like the Border Collie:
- Start with the white fur using the white of the paper.
- Add gentle gray washes to define shadows.
- For the black fur, build up layers of dark paint, allowing each one to dry.
- Avoid applying the black paint too heavily to prevent it from becoming flat.
Remember, watercolor is about layers and patience; start light and gradually build up to the richness of your dog’s coat.
Charcoal Challenges
When you embark on drawing a dog using charcoal, you’ll confront unique challenges. Here’s a breakdown to help you navigate these hurdles for varied types of dogs:
Labrador:
- Difficulty: Fur texture
- Tip: Focus on the distinction between the glossy sections and the more matte fur. Use a blending stump to soften the transitions.
Poodle:
- Difficulty: Curly fur
- Tip: Employ short, circular strokes to mimic the curls, and avoid over-blending to maintain texture.
German Shepherd:
- Difficulty: Complex fur pattern
- Tip: Map out the dark and light regions first to effectively capture the breed’s distinctive markings.
Beagle:
- Difficulty: Short fur with subtle shading
- Tip: Utilize light layers, gradually building up the value to prevent a muddy appearance.
Tools and Techniques:
- Blenders: Use paper blenders for smooth fur and a paintbrush for longer, wispy fur.
- Layering: Start with lighter tones and gradually layer darker shades for depth.
- Eraser: A kneaded eraser highlights reflective fur and creates dynamic contrast.
Overcoming Charcoal Limitations:
- Control: Maintain a steady grip on your charcoal for precision, especially around delicate features like the eyes and nose.
- Muddy Textures: Prevent smudging by working from the top of the paper downwards and by keeping a clean working hand or using a paper guard.
In charcoal drawing, your approach must be both methodical and open to the spontaneity of the medium. It’s a balance between technique and the unique qualities charcoal brings to your canine portrait.
Related Resources: