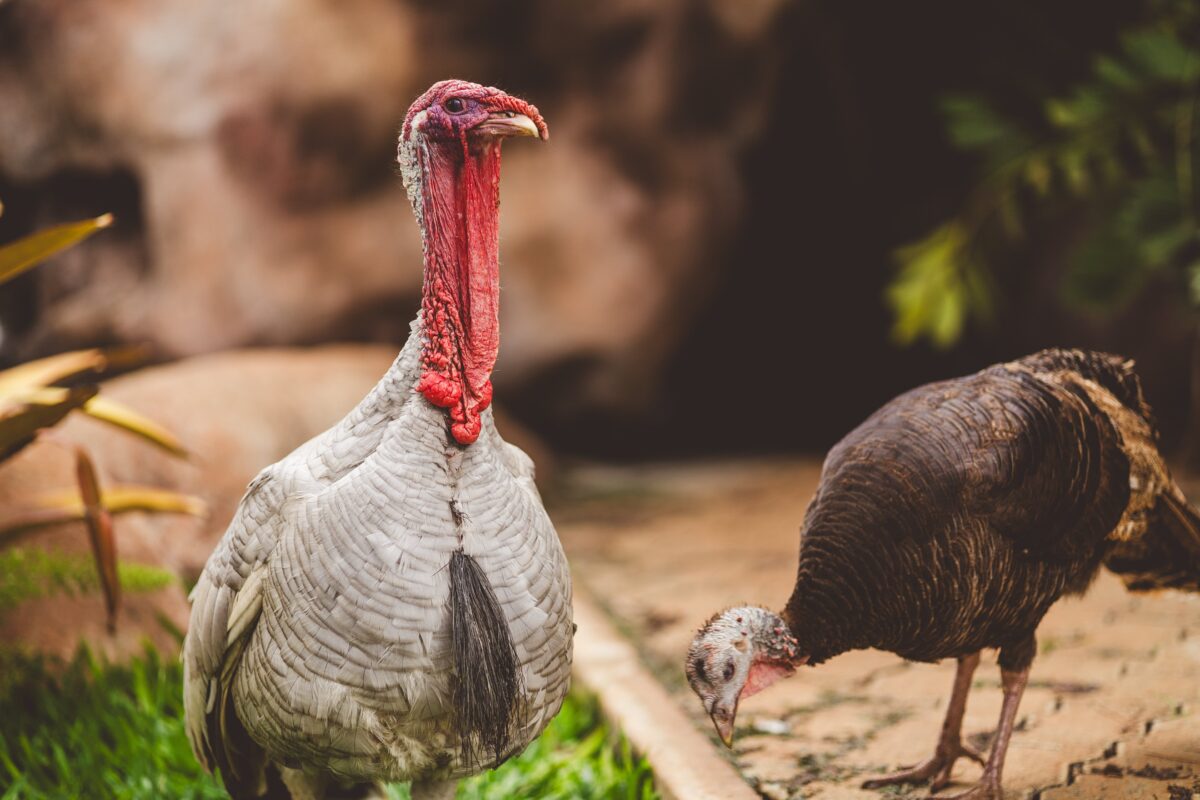
If you’re a backyard poultry enthusiast or aspire to raise your own organic turkeys, you’ve undoubtedly contemplated the process of hatching turkey eggs. It’s not uncommon for turkeys to struggle with the incubation of eggs, necessitating artificial means. In this guide, we’ll delve into the nitty-gritty of successfully hatching turkey eggs.
Finding Fertilized Turkey Eggs

For anyone fortunate enough to own turkeys, reaping a fresh supply of eggs is not a task. However, the majority of turkey lovers, particularly those in urban settings, face the challenge of acquiring fertilized eggs fit for incubation. Regrettably, supermarket-sourced turkey eggs are usually sterile. You might need to hit the road and visit a farm or a professional poultry breeder to purchase fertilized turkey eggs. Picking them up in person is often the safest option, considering the fragility of mailed eggs.
Handling the Eggs with Care

Acquiring the eggs is just the starting point—how you handle them can significantly influence the success of your hatching project. It’s highly advisable to gradually increase the eggs’ warmth rather than placing them in high heat conditions immediately. Also, note that for the highest hatchability chances, the eggs shouldn’t be over seven days old when they enter the incubator.
Locating the Incubator
The placement of your incubator can make or break your egg hatching mission. It should be in a steady temperature room, specifically between 70°F and 75°F. Avoid positioning the incubator near windows to prevent the sunlight from dangerously raising the incubator’s internal temperature and risking the eggs’ survival.
Setting Up the Incubator
Equipment preparedness is a crucial step before the eggs hit the incubator. Ensuring cleanliness and the appropriate water levels are the basics. Patience is vital here; wait for the internal temperature to hit anywhere between 98°F – 102°F. Investing in an incubator with a temperature control feature can surely enhance the overall hatching experience.
Turning the Eggs
Surprisingly, egg turning is part of the incubation routine meant to prevent the embryo from sticking to the shell. This should be executed gently and at least thrice daily. A simple marking system on the eggs using a pencil could greatly ease this process. Egg turning is done until approximately the 17th day of incubation.
Monitoring Temperature and Oxygen
Besides maintaining a steady incubator temperature for the entire 28 days of incubation, it’s crucial to monitor the oxygen levels. Embryos need oxygen, which is obtained from air passing through the tiny egg shell pores. Gradually increase your incubator’s ventilation to aid this process.
Signs of Successful Incubation
During the hatching journey, it’s thrilling to witness several milestones. By the 19th day, expect to notice shells showing some fracture. By the 21st day, you’ll most likely find the eggs fully hatched with chicks, although awaiting their fur to dry. It’s, however, disheartening to find an unbroken shell by day 21. Such an egg typically houses an ill or weak chick, which sadly must be euthanized to avoid unnecessary suffering.